UI Mode
UI Mode is a special application that provides interactive access to running, updating, and viewing stories, as well as developing the core functionality, exactly in the same format as in a regular browser.
The overall interface looks like this:
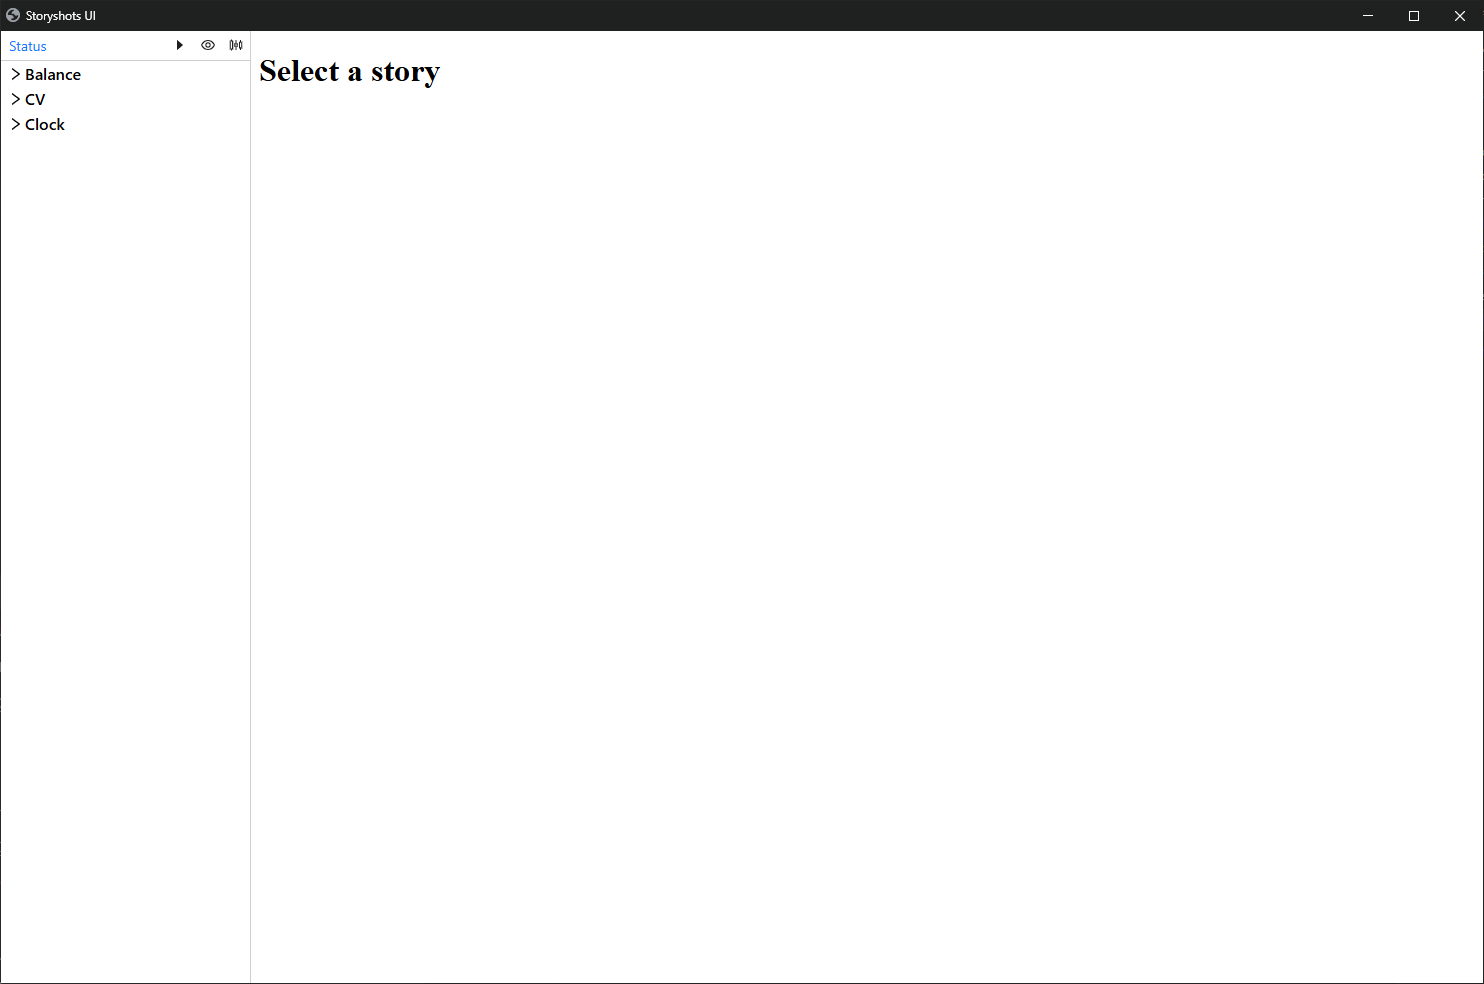
Navigator
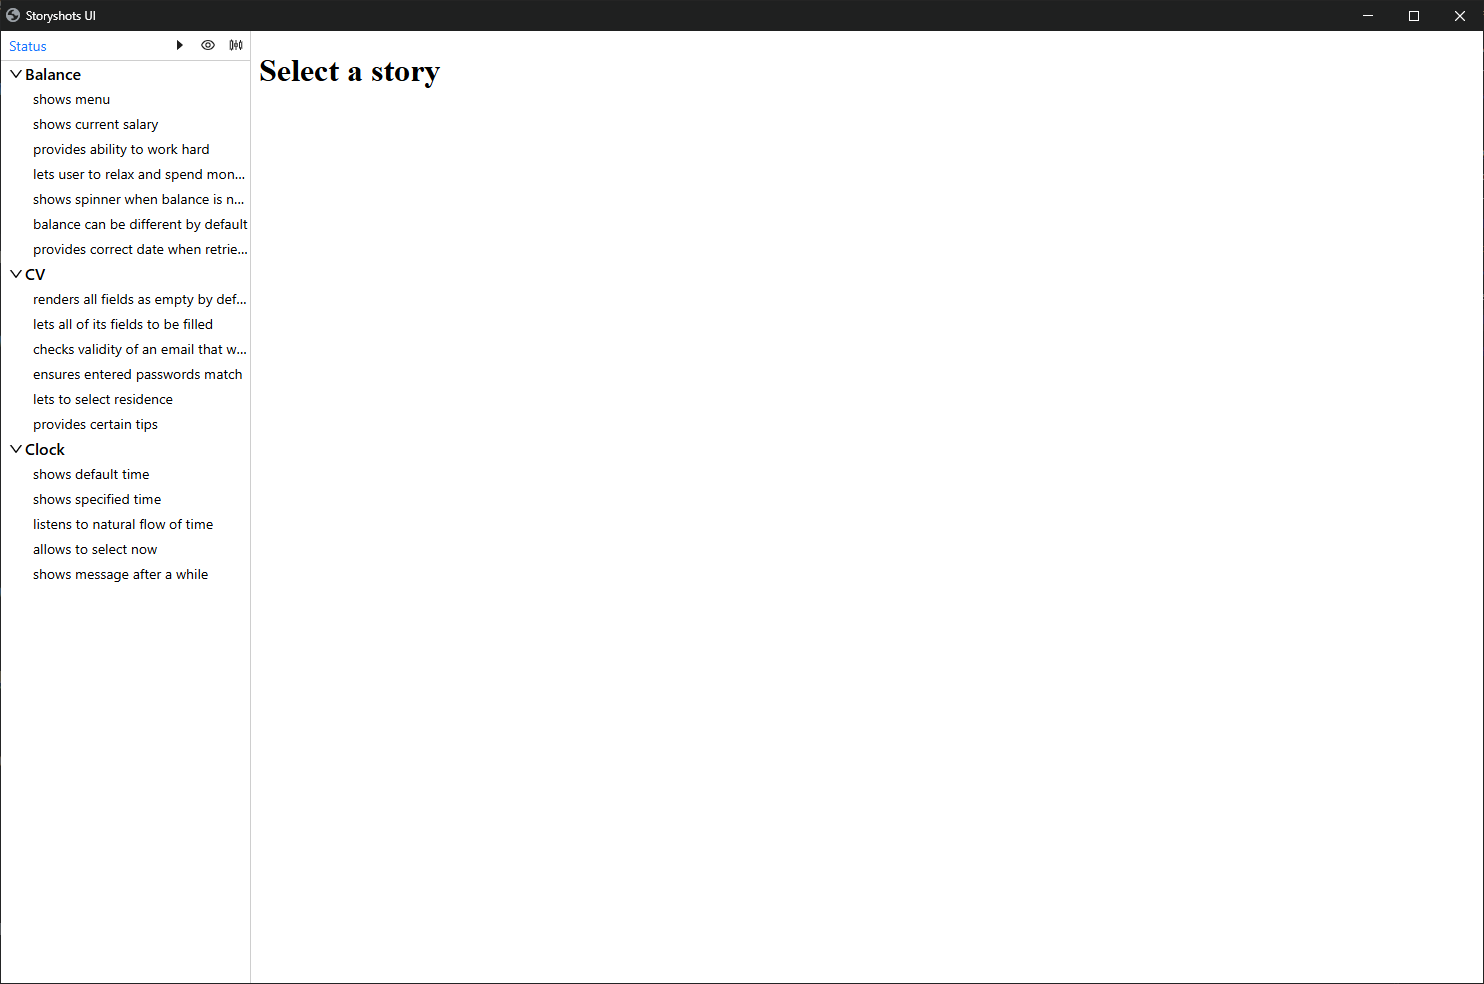
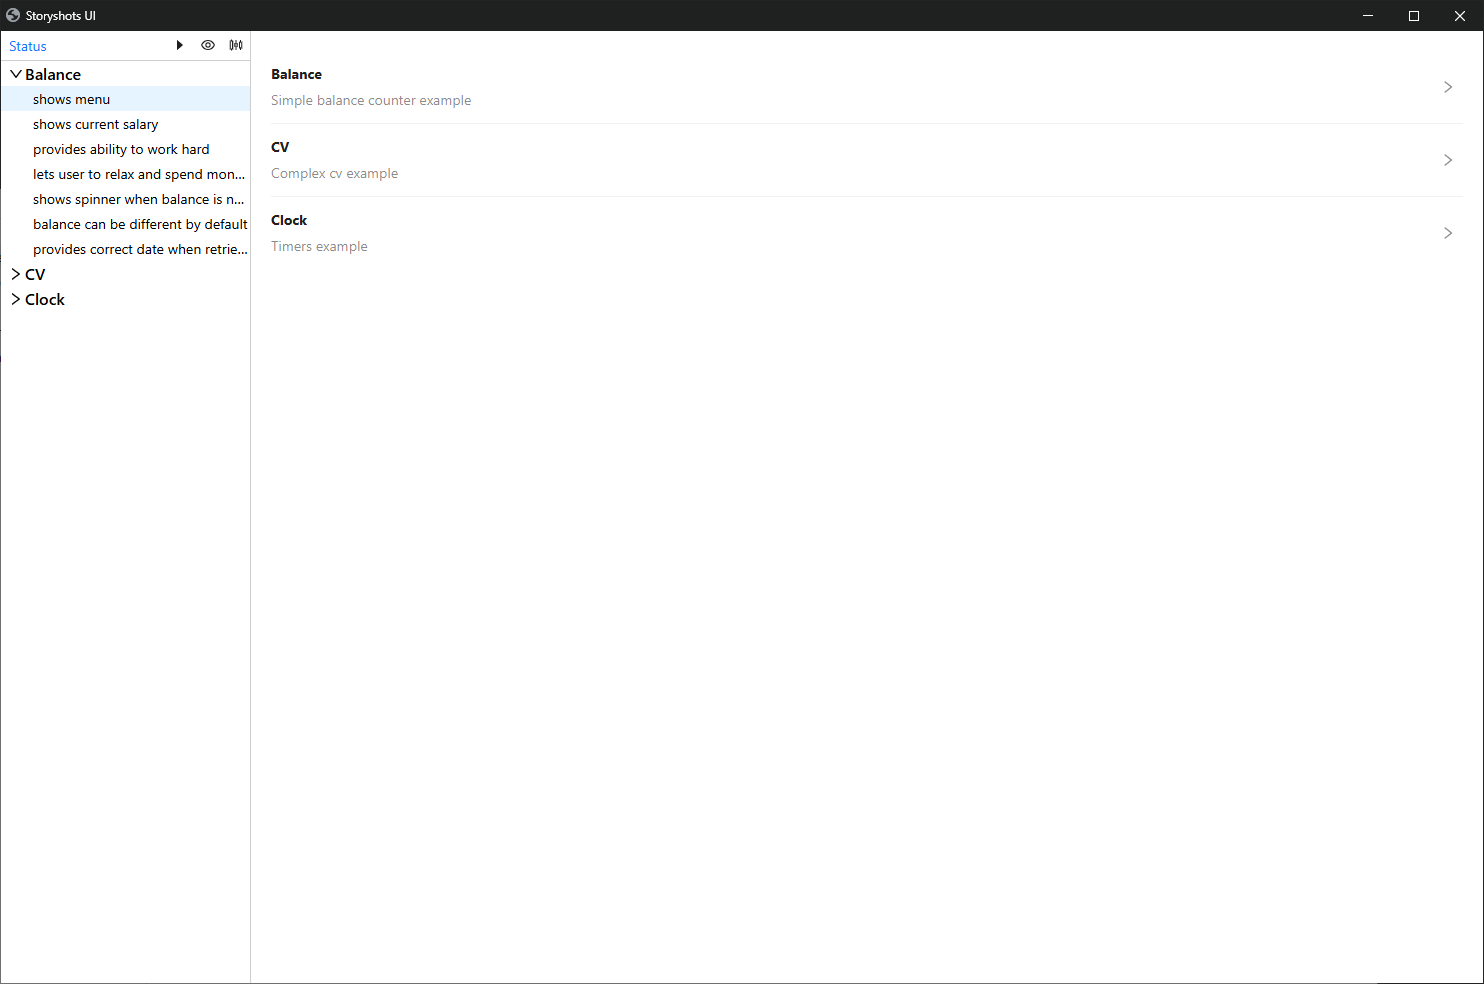
On the left side is the navigator, which allows you to view the list of all stories:
Preview
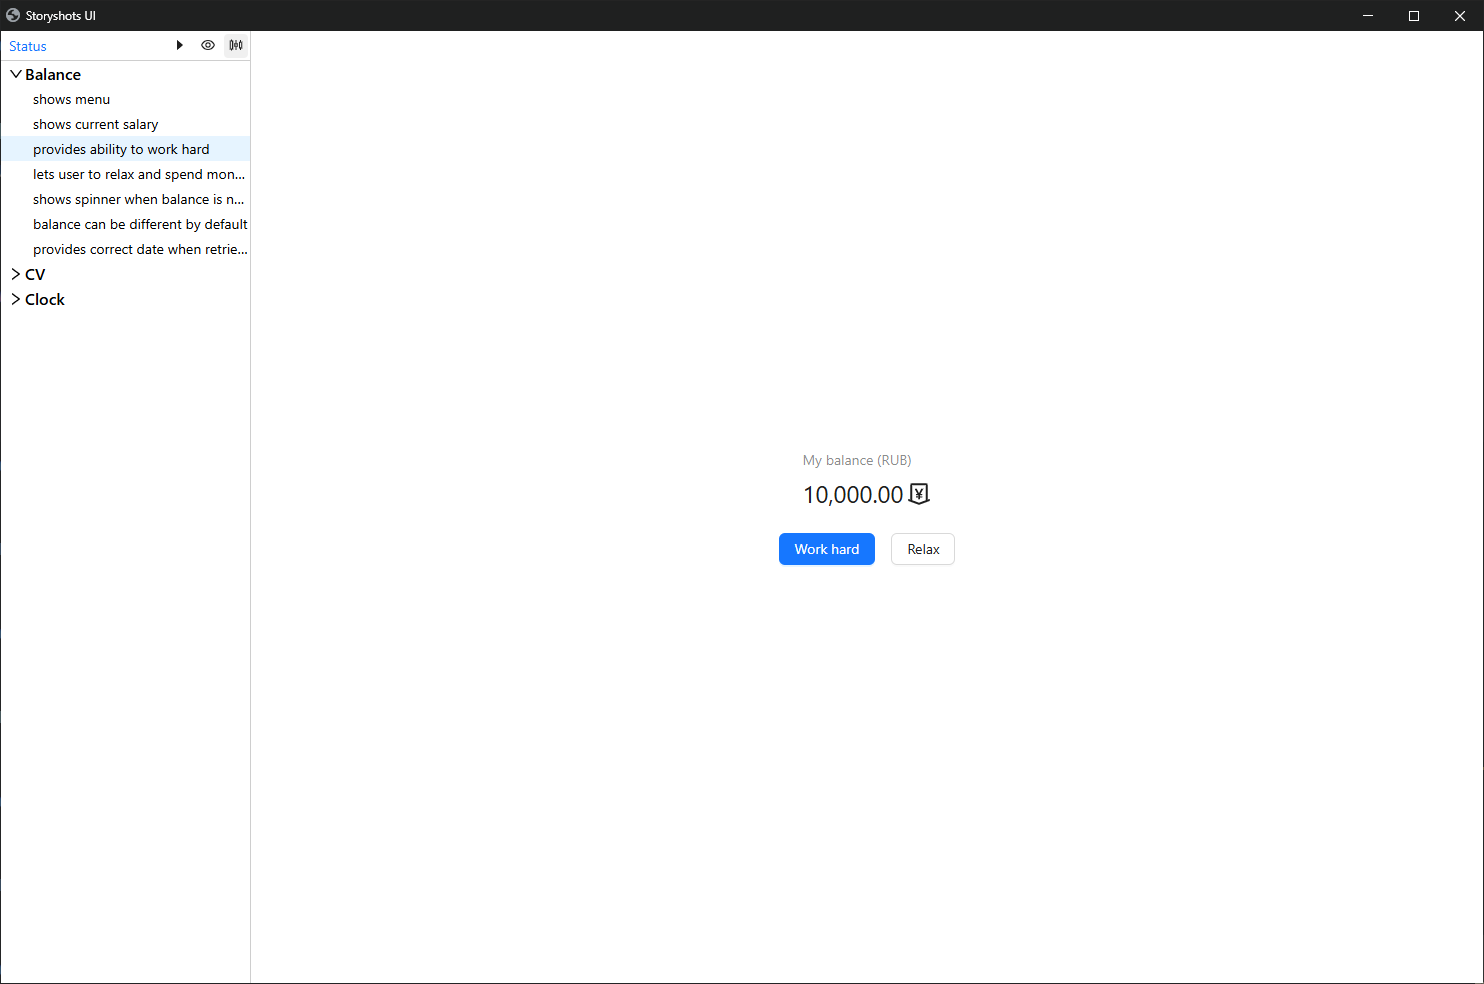
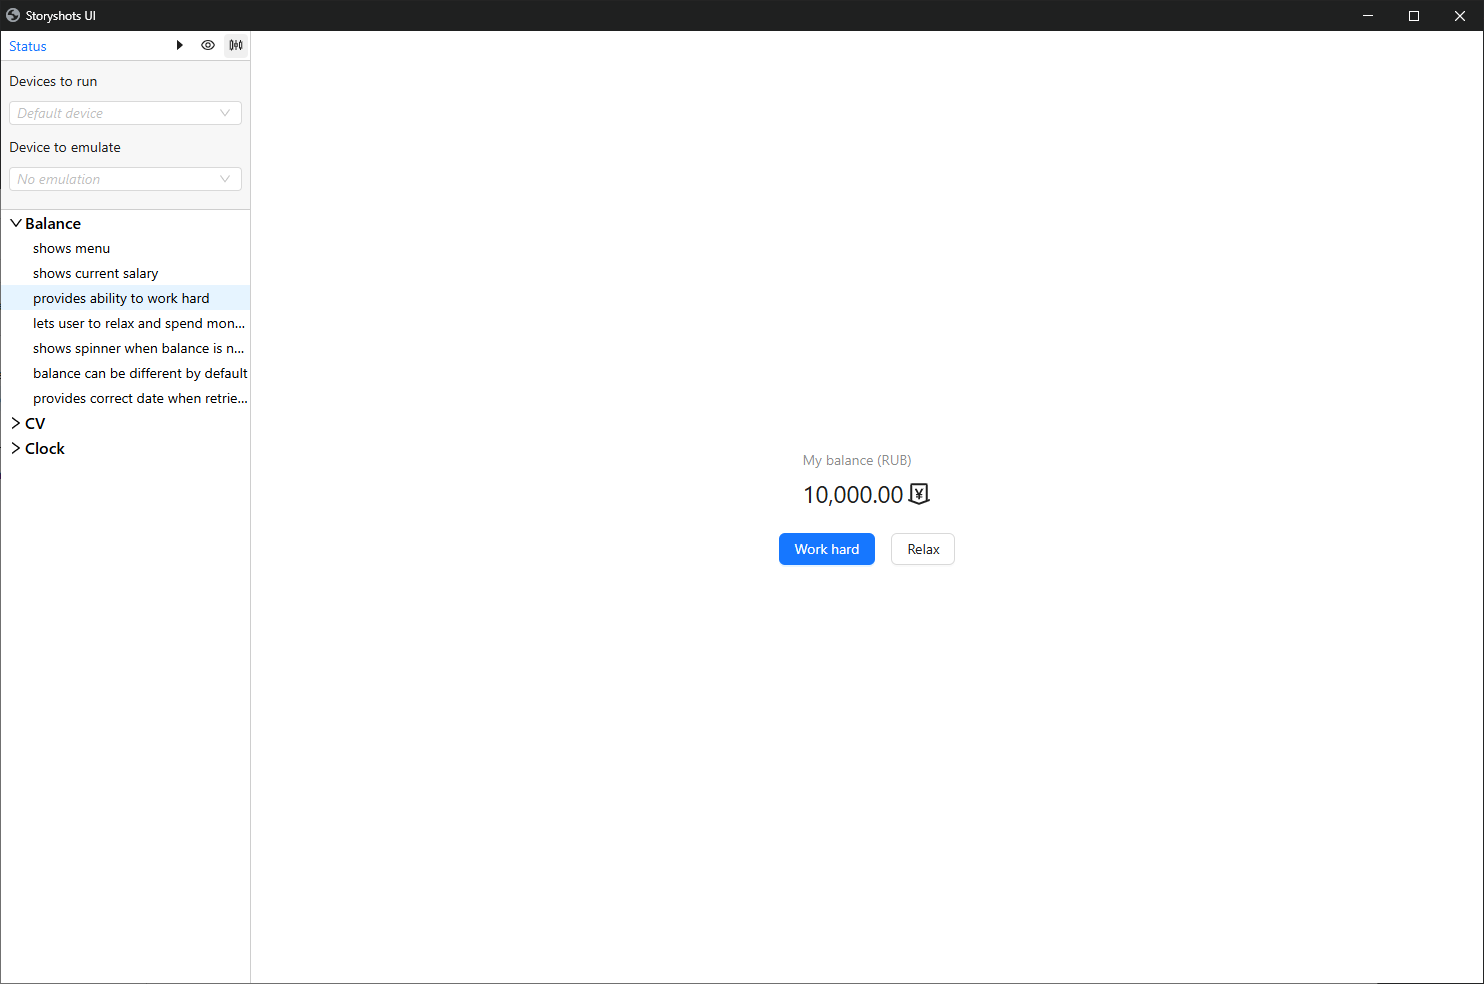
Clicking on a story opens an interactive preview mode:
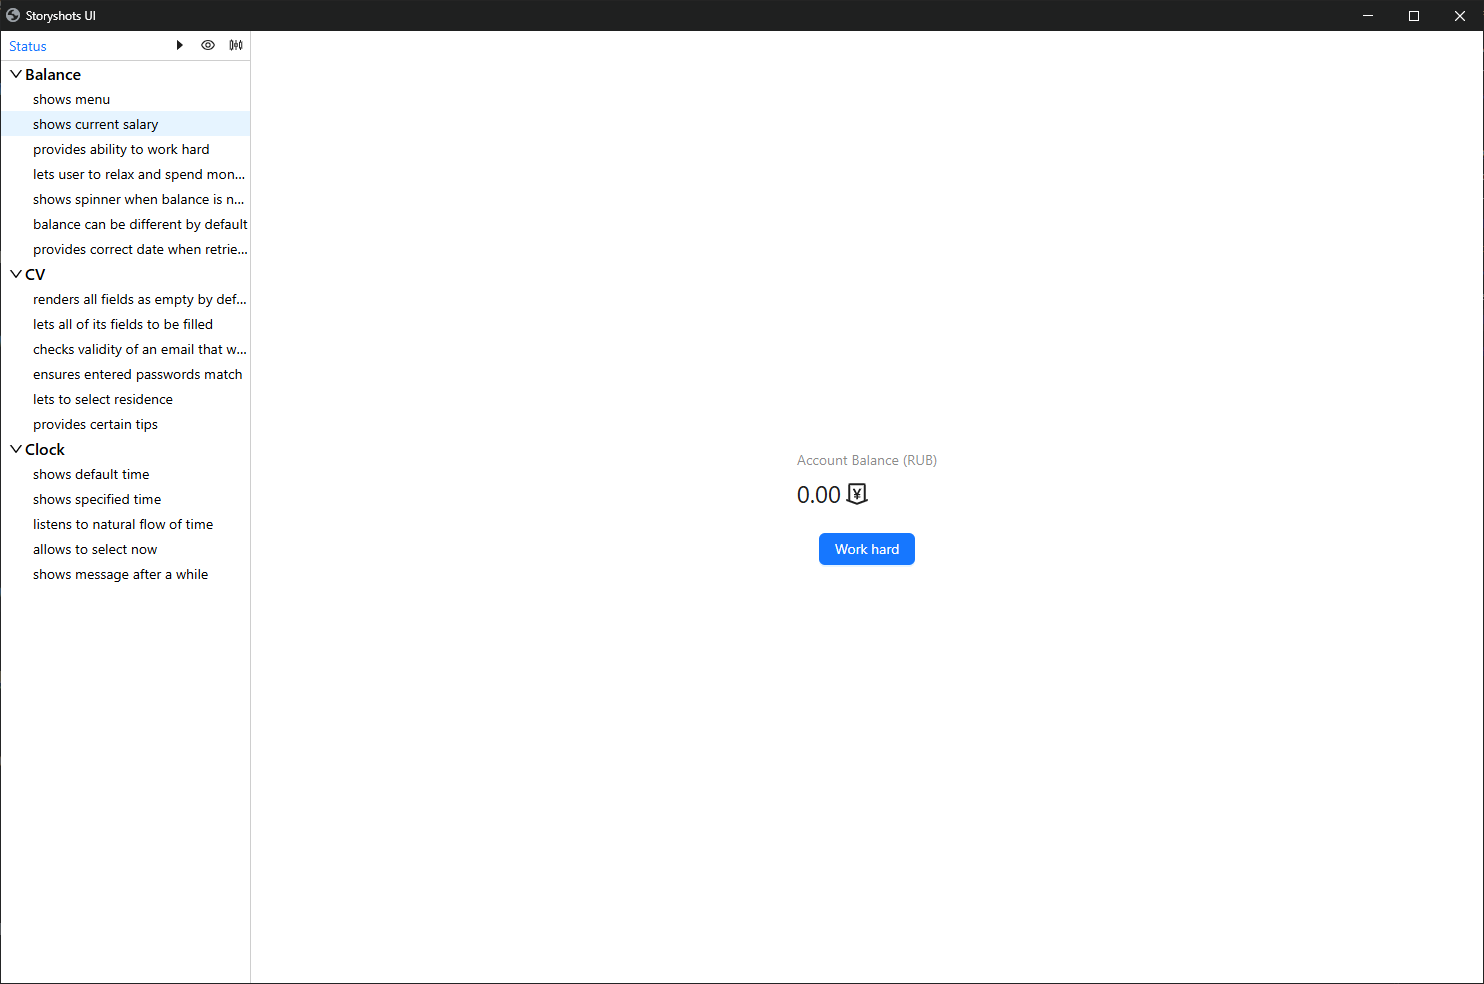
During preview, storyshots performs the following actions:
- Prepares external data sources using the
arrangefunction. - Launches the application and displays the UI in the preview area.
- Interacts with the interface automatically (the
actfunction).
Thus, the application state is automatically prepared, providing the developer with a ready-to-use environment for work.
storyshots allows you to develop and debug using browser tools without leaving the test writing mode.
To restart the preview, simply click on the selected story again.
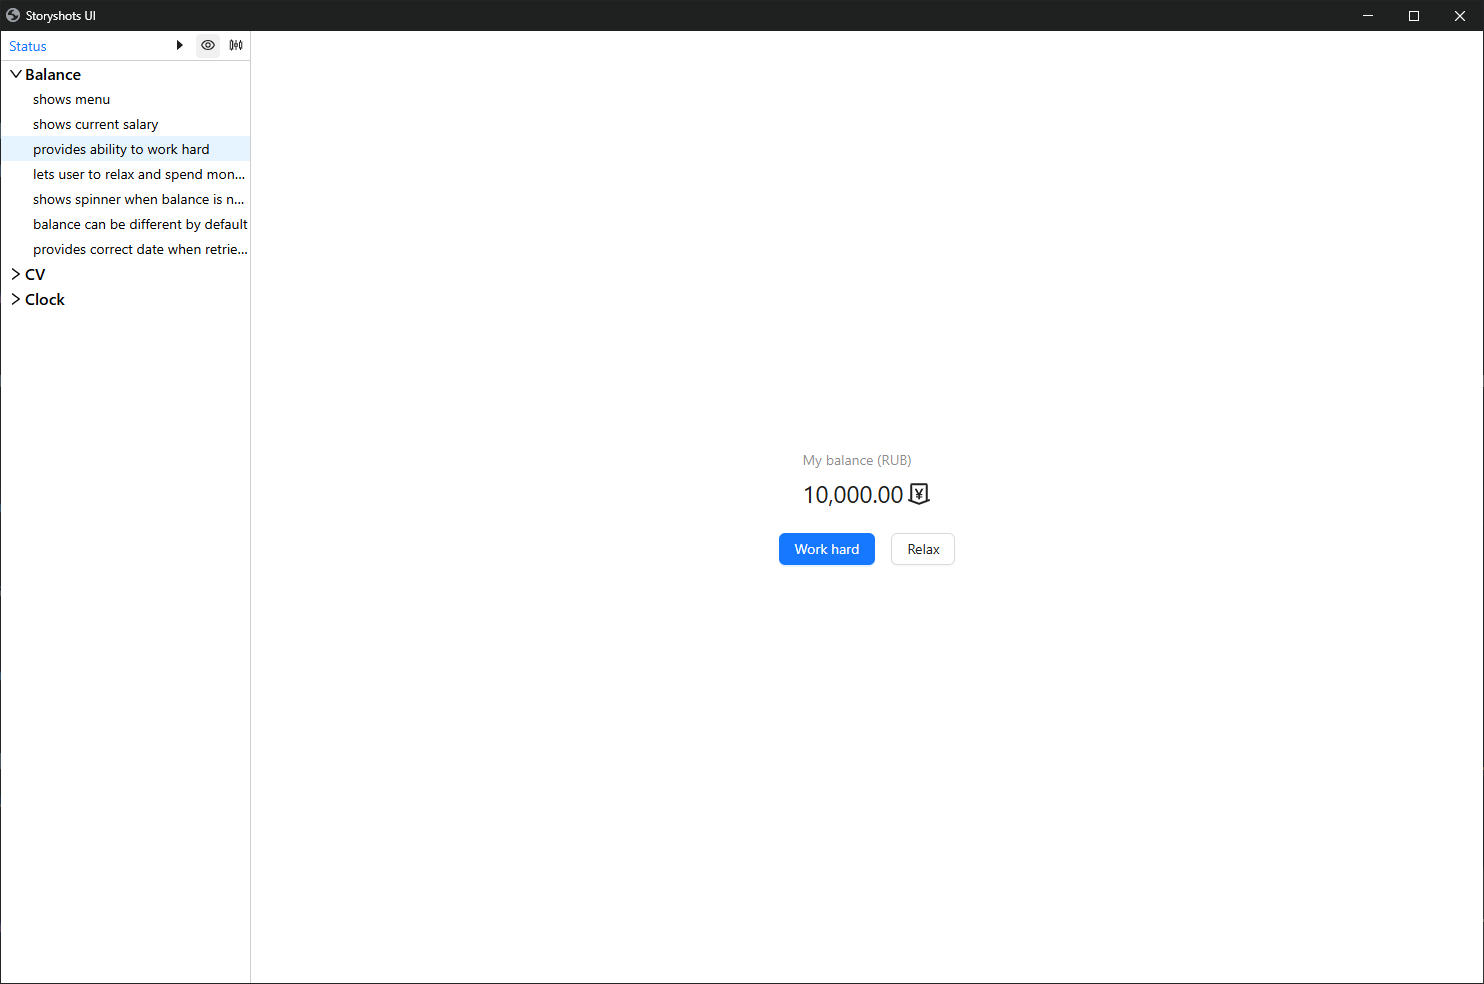
Run
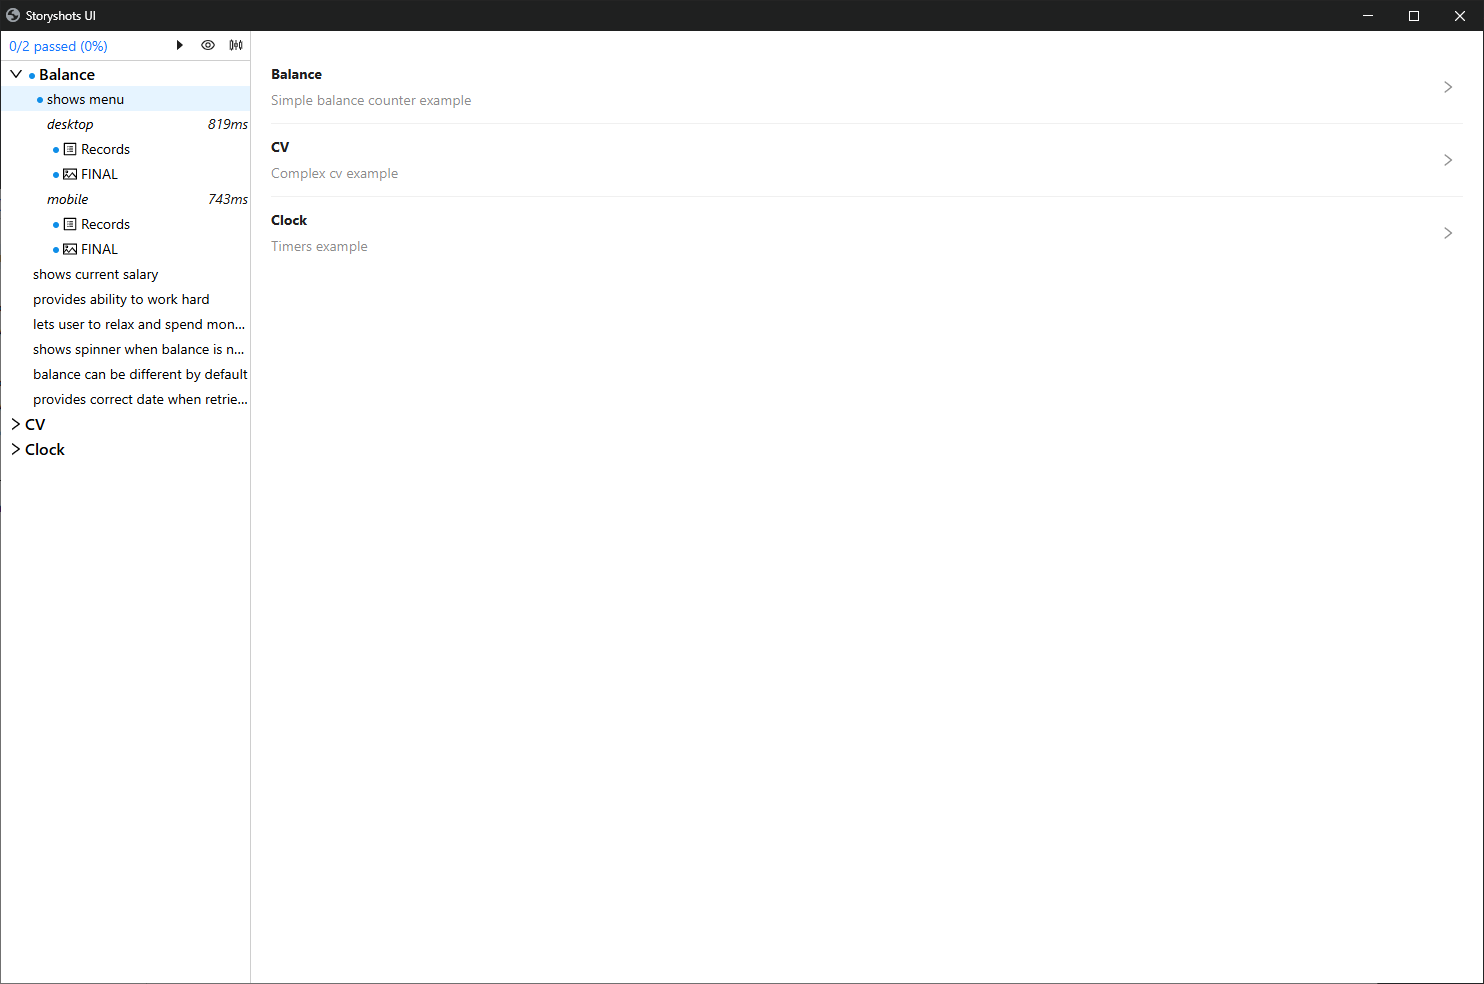
When hovering over a story or a group of stories, additional actions appear, such as running a test scenario:

After running, a fresh baseline is generated, and its status relative to the reference is displayed:
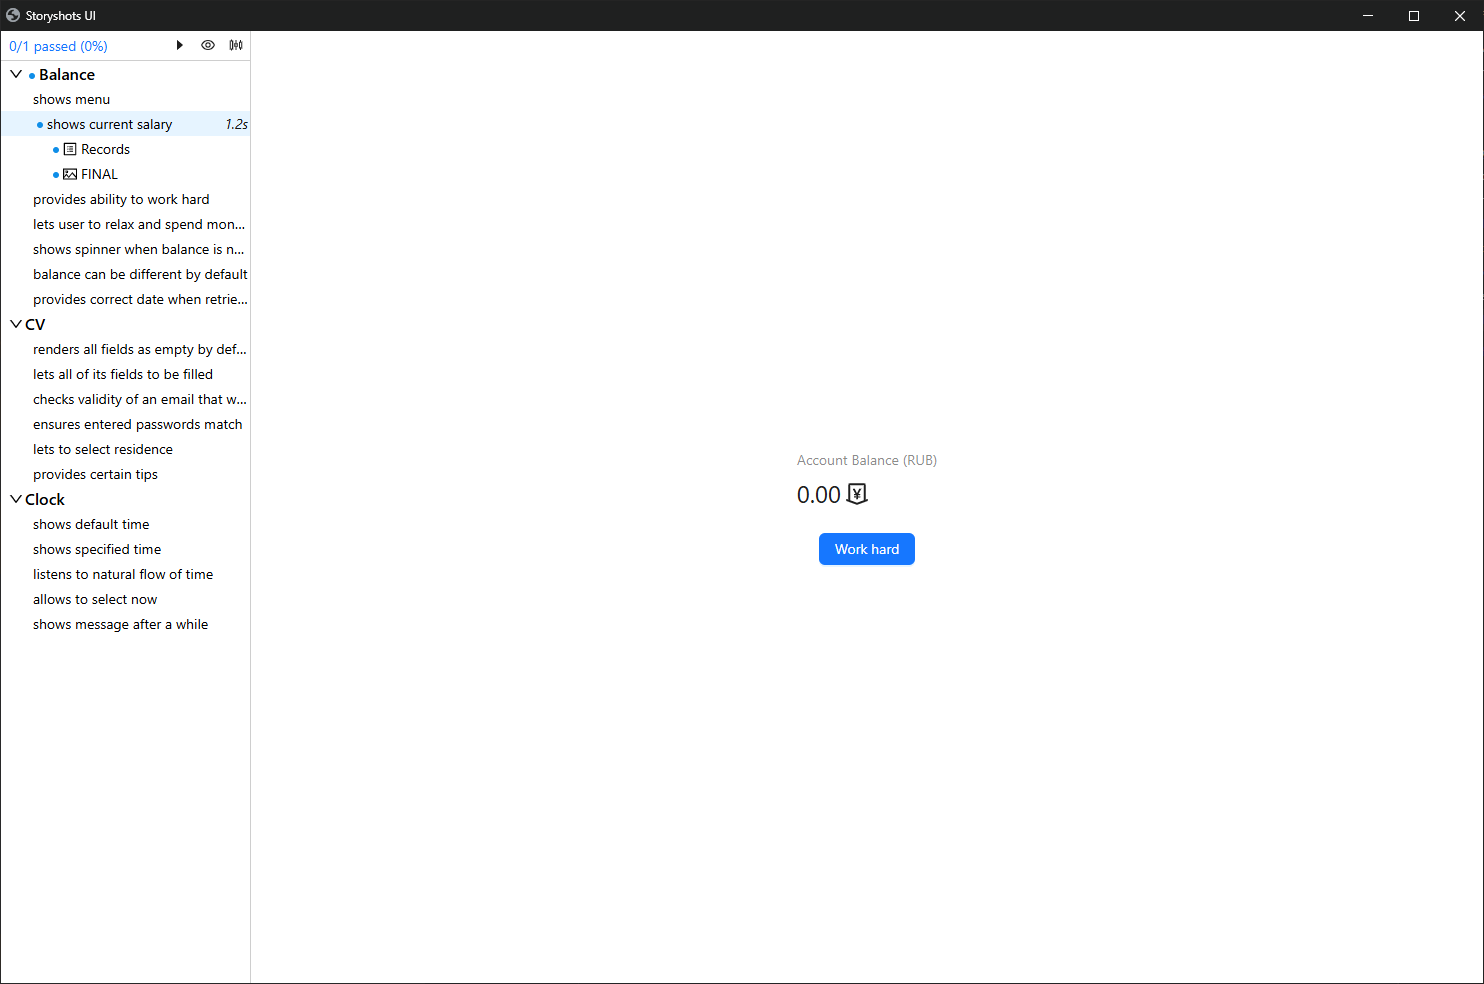
On the first test run, the baseline is marked as "new" (blue circle).
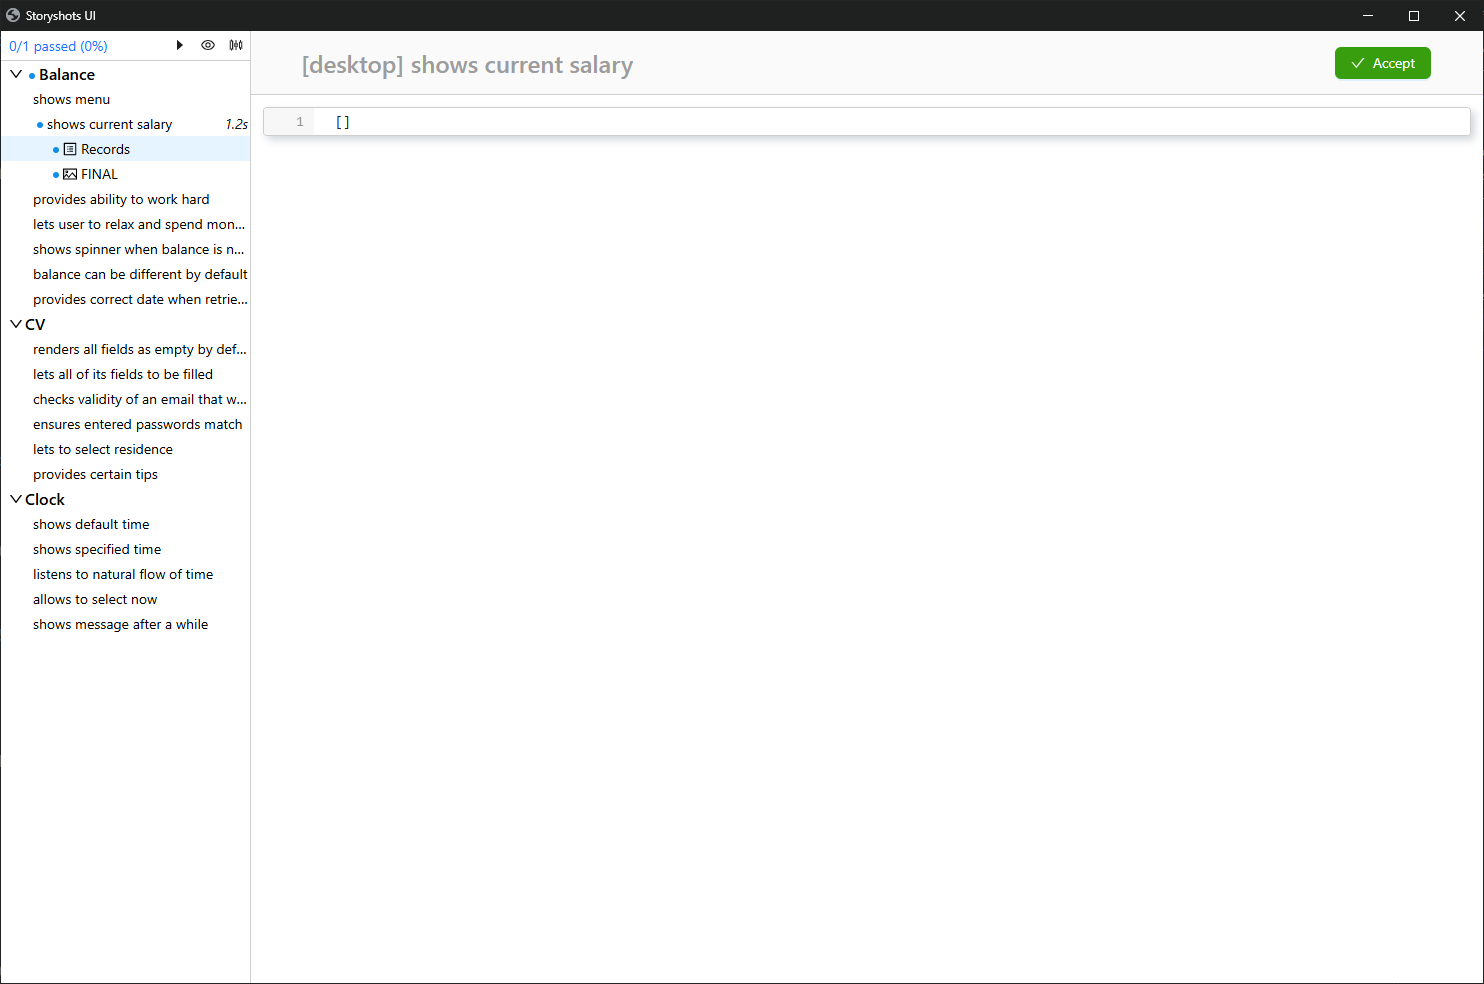
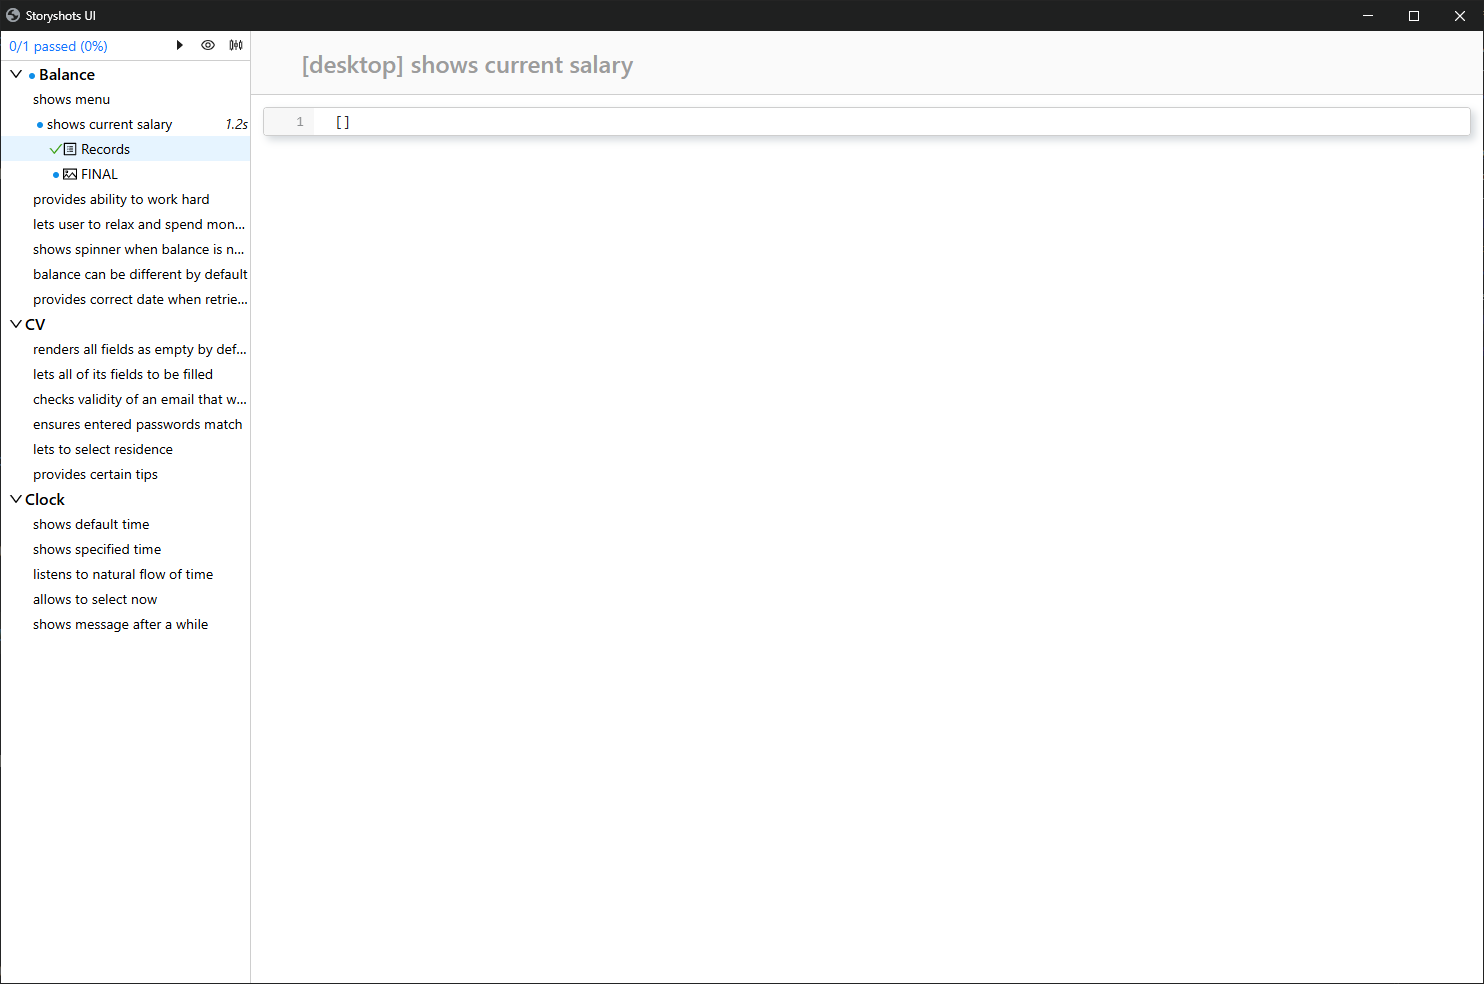
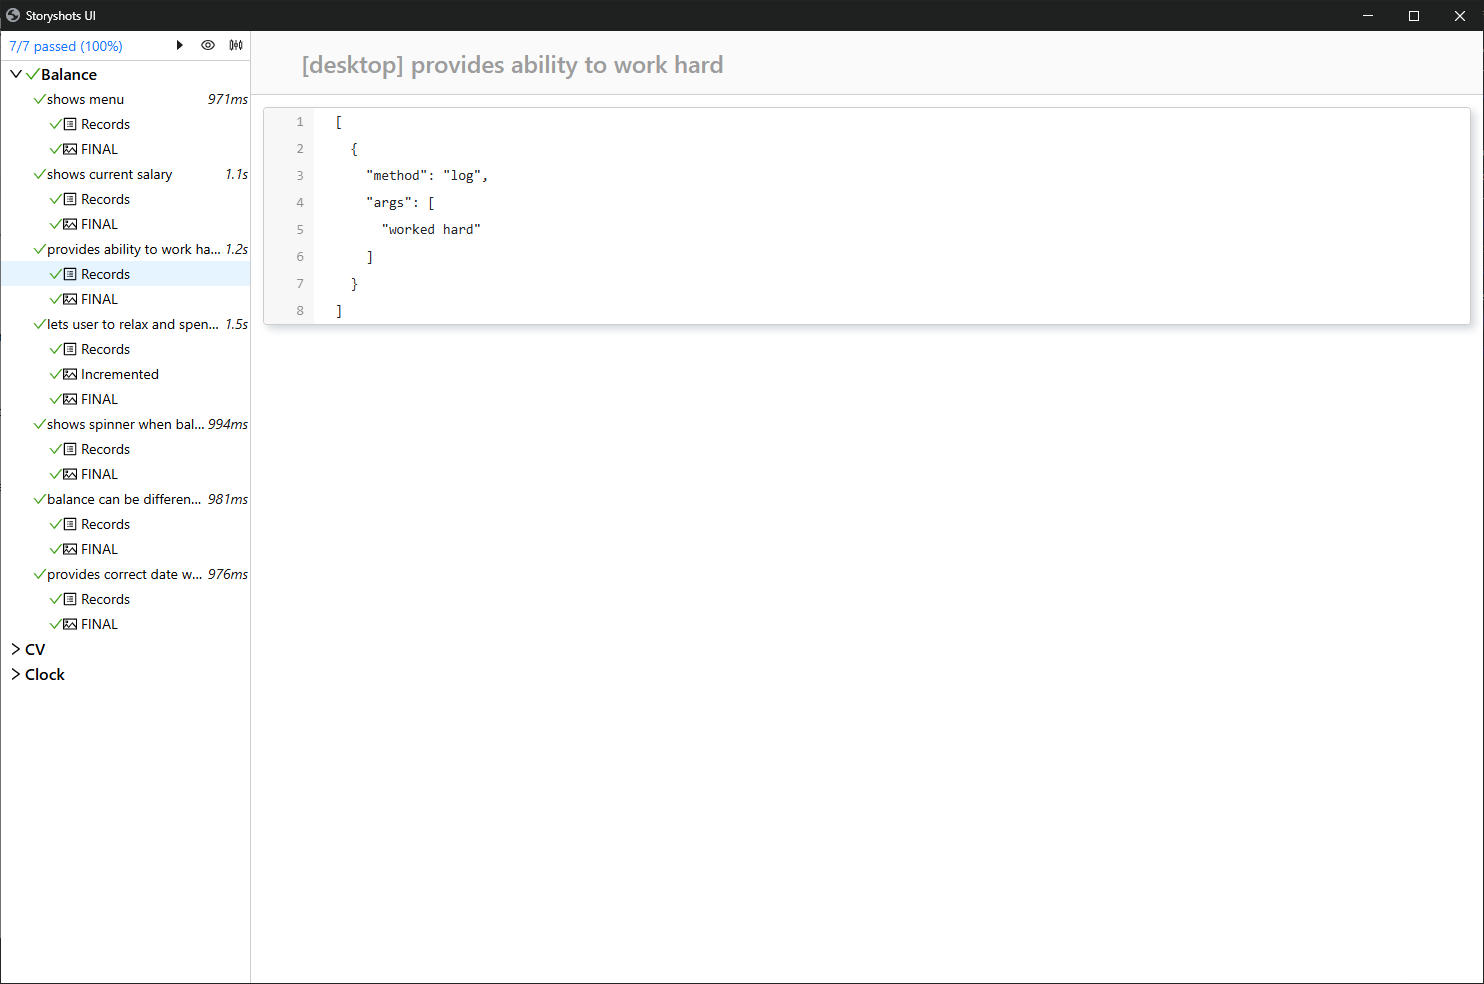
Log
The log is part of the behavior baseline. You can view it by clicking on the "Records" item:
The "Accept" button in the top-right corner allows you to accept the log baseline, making it part of the reference:
Accepted logs are marked with a green checkmark.
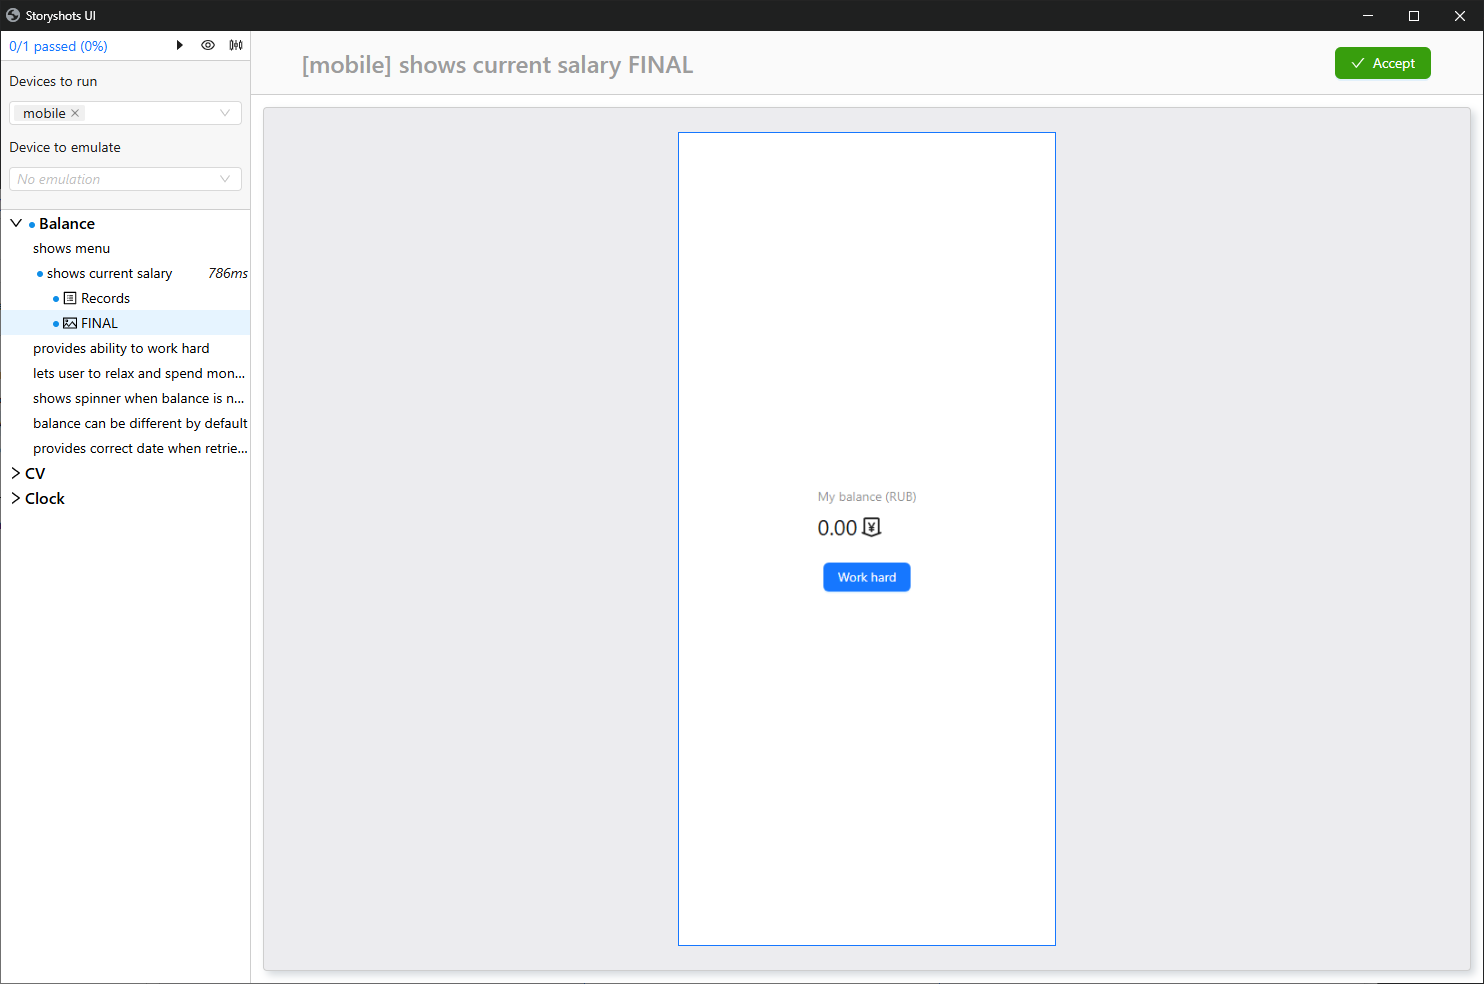
Snapshots
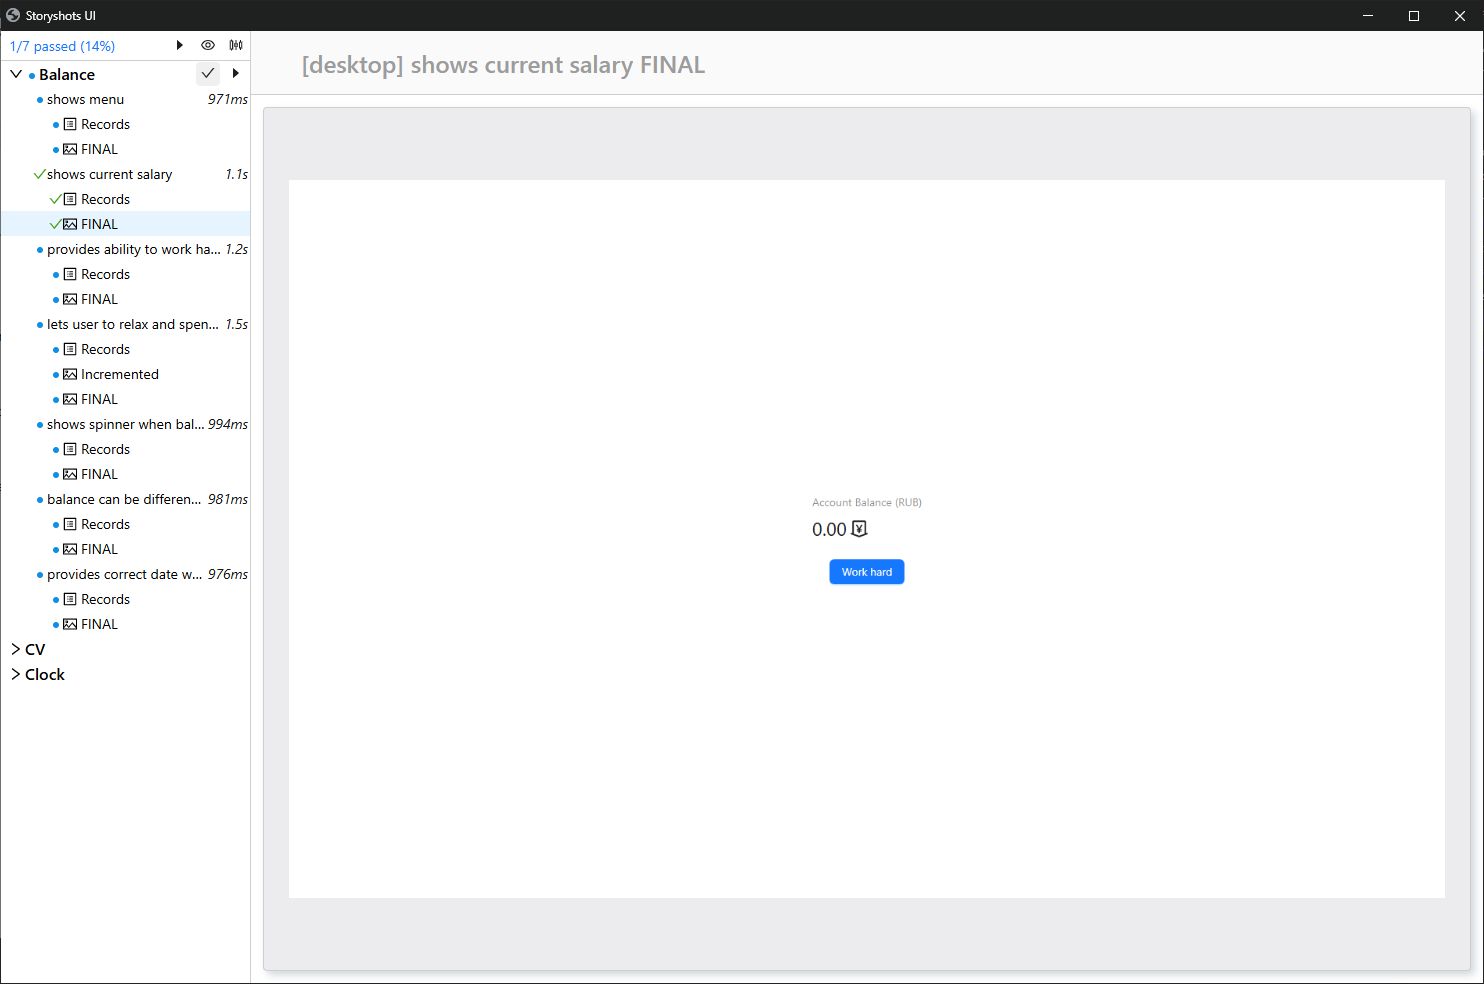
Screenshots form the main part of the application behavior baseline. To view a specific screenshot, select its name from the list:
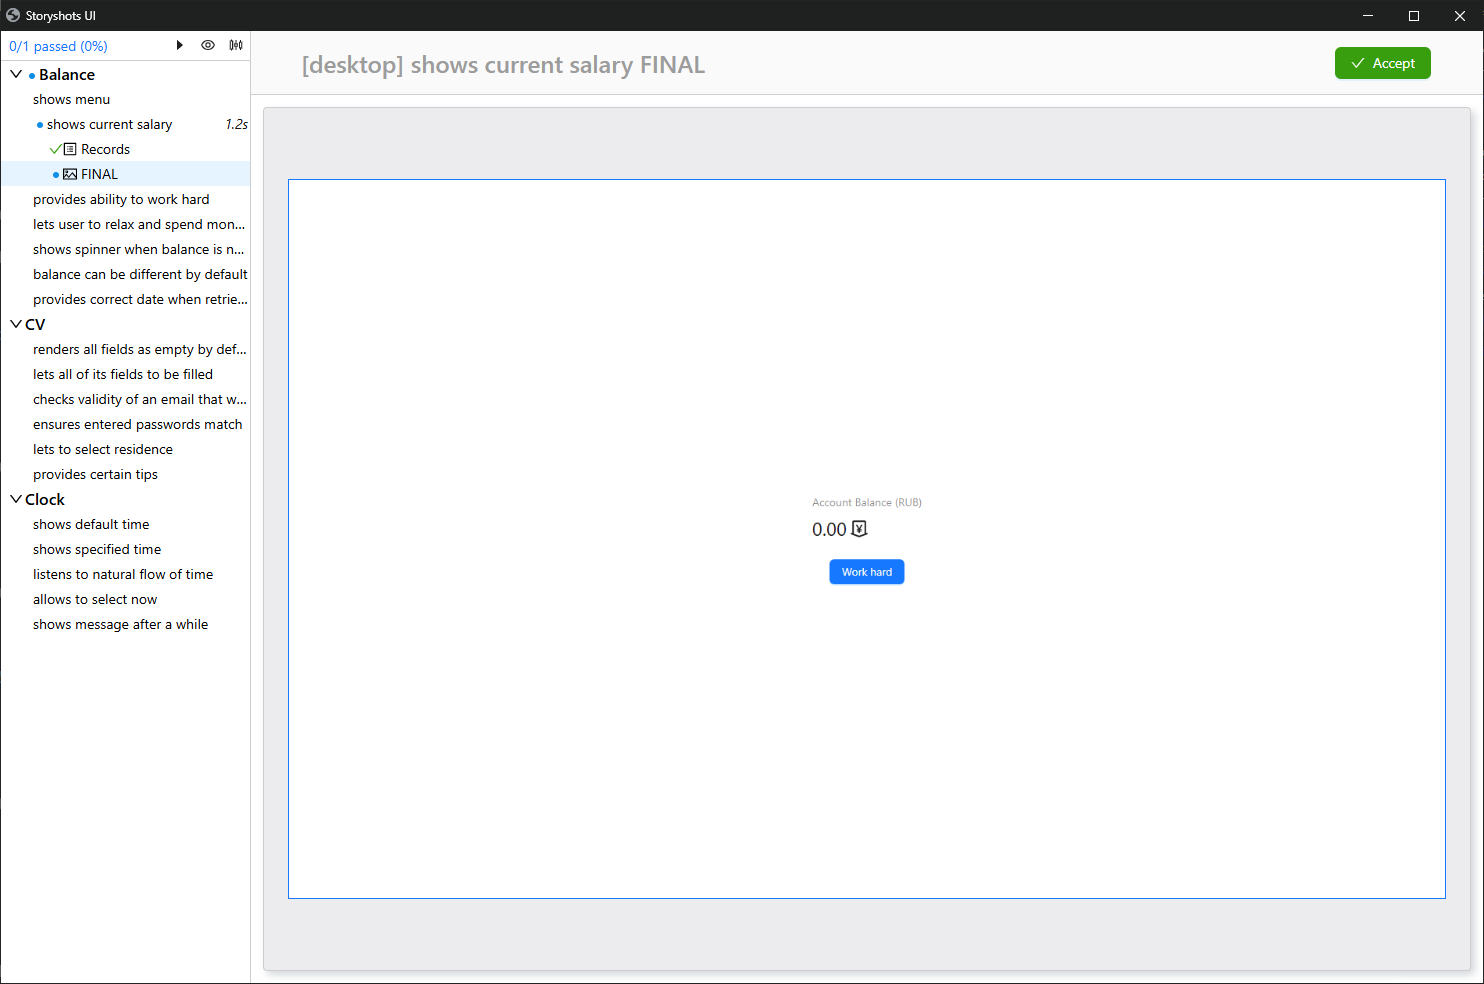
"FINAL" is the default name for screenshots automatically created after completing actions in a story.
The "Accept" button allows you to accept the screenshot as a reference, confirming the current application behavior as correct.
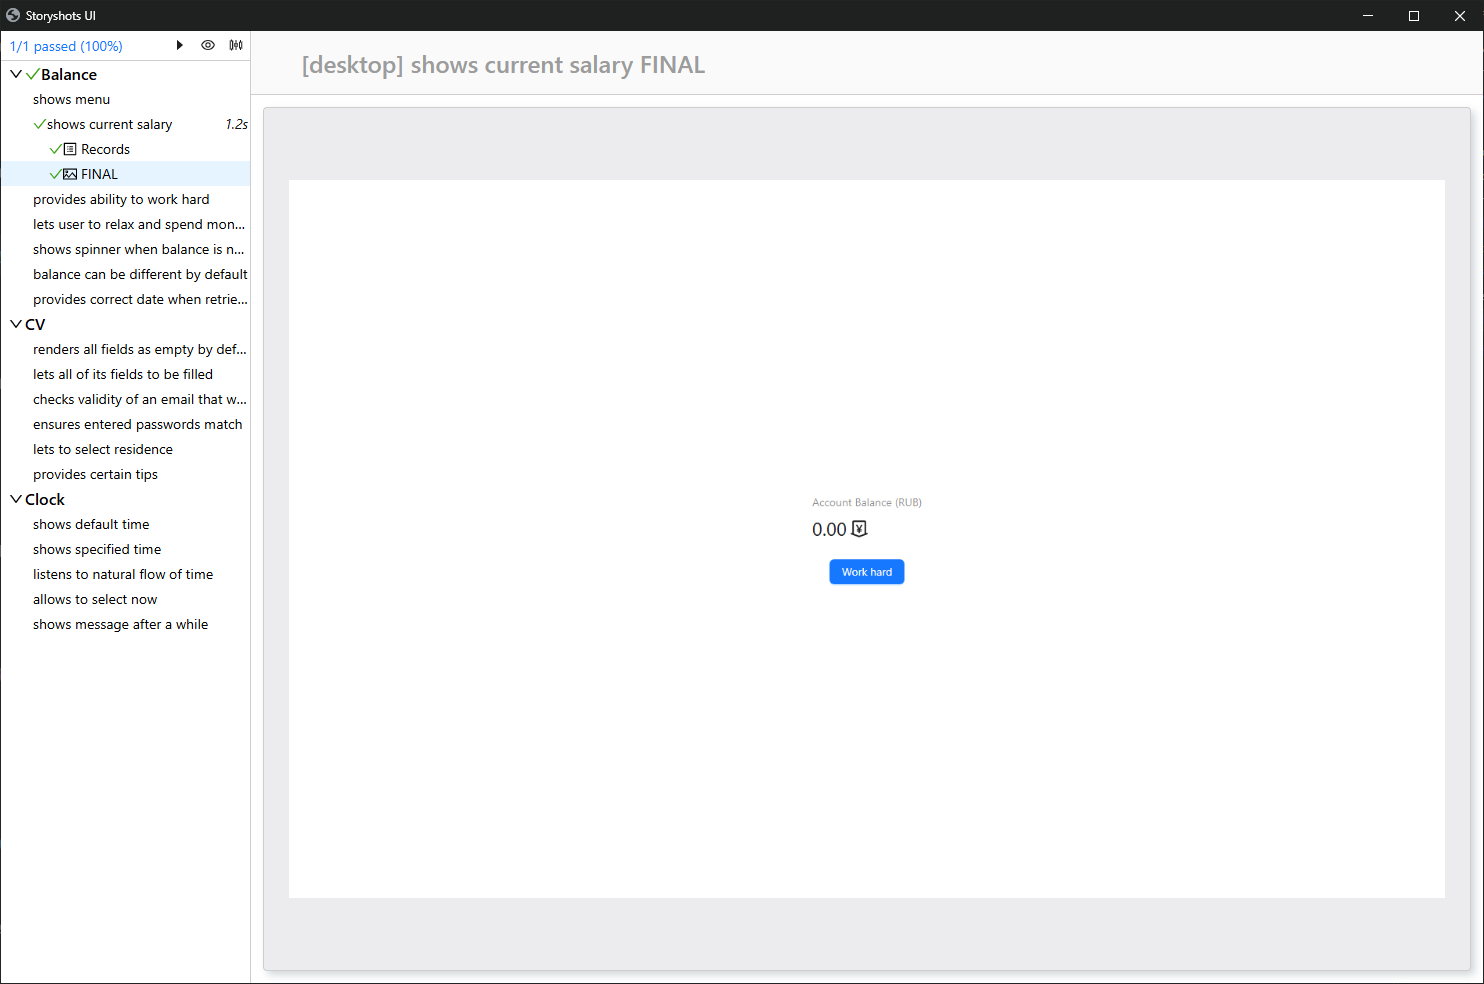
A story is considered passed only if its entire baseline matches the reference.
Logs and screenshots can be accepted separately.
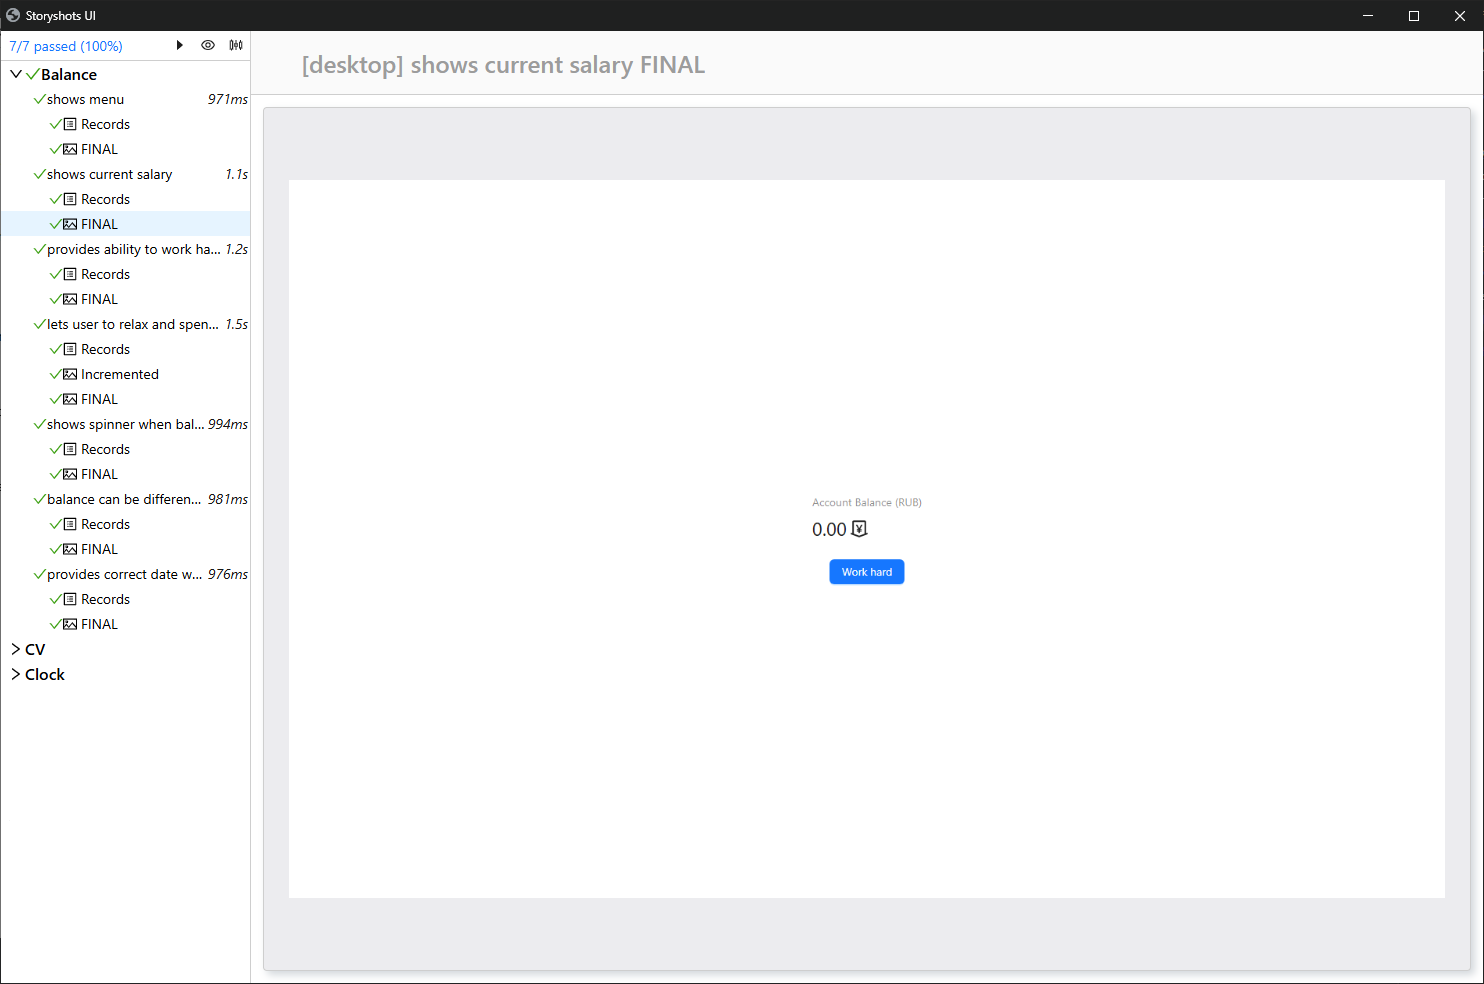
Bulk Actions
storyshots allows running multiple stories simultaneously:

After execution, baselines are generated, which can be accepted all at once:
Result:
Log Changes
Consider a regression scenario. Initially, the log looks like this:
Remove the call from the code:
externals.analytics.log('worked hard');
// externals.analytics.log('worked hard');
After restarting the test, storyshots detected a difference between the current log and the reference. The red cross indicates a mismatch.
Open the log:
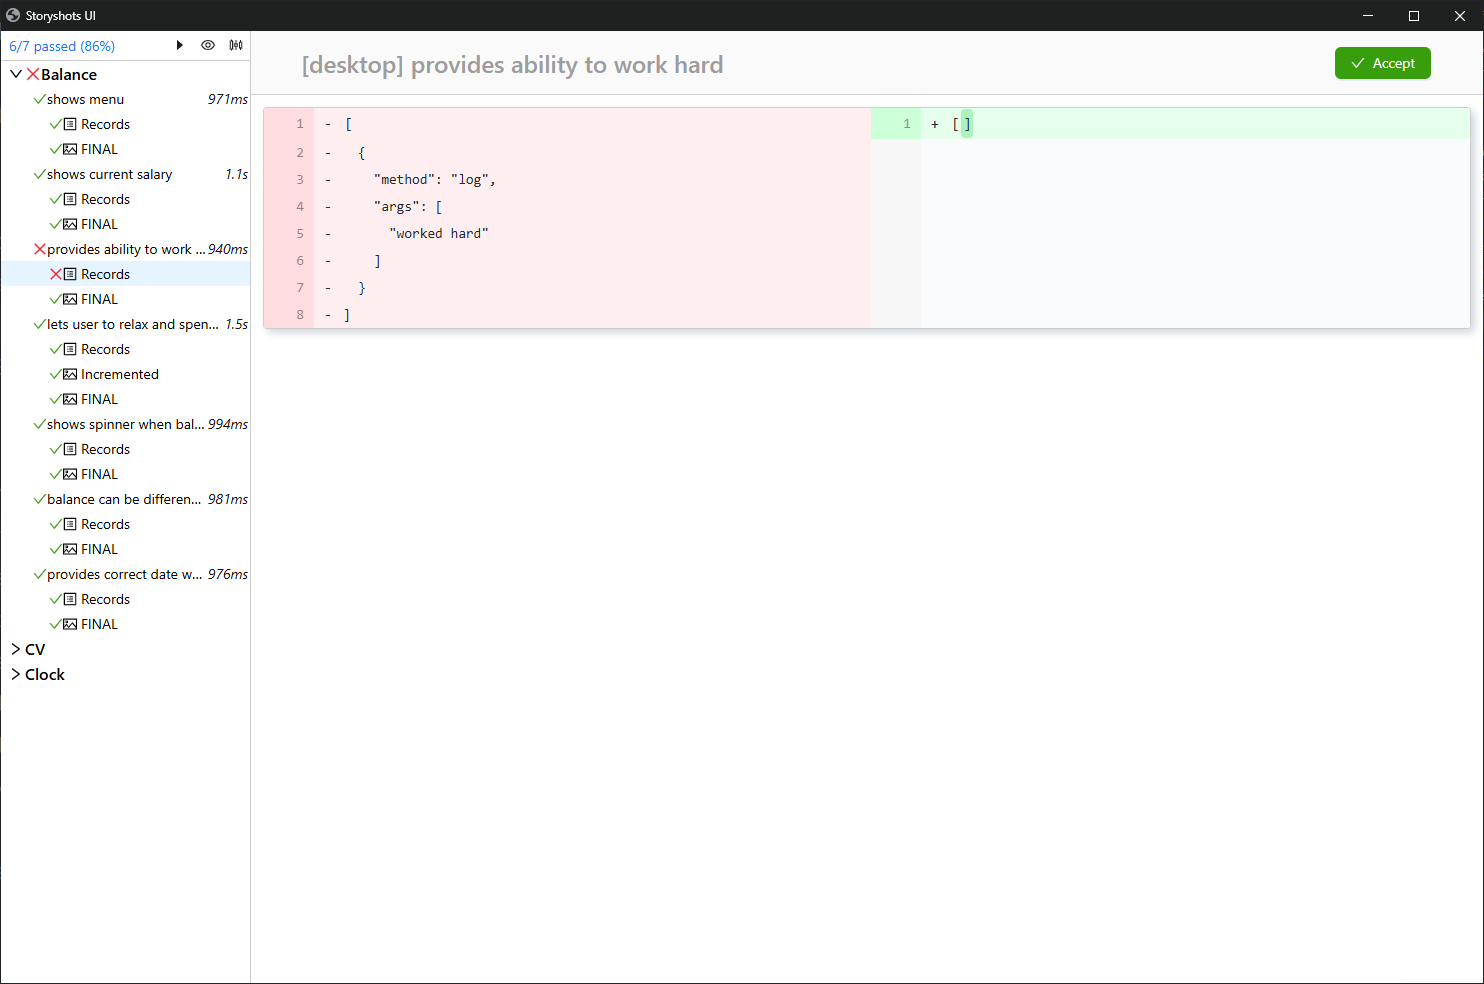
Here, the difference between the current and reference behavior is visible. The "Accept" button allows you to accept the current baseline as correct.
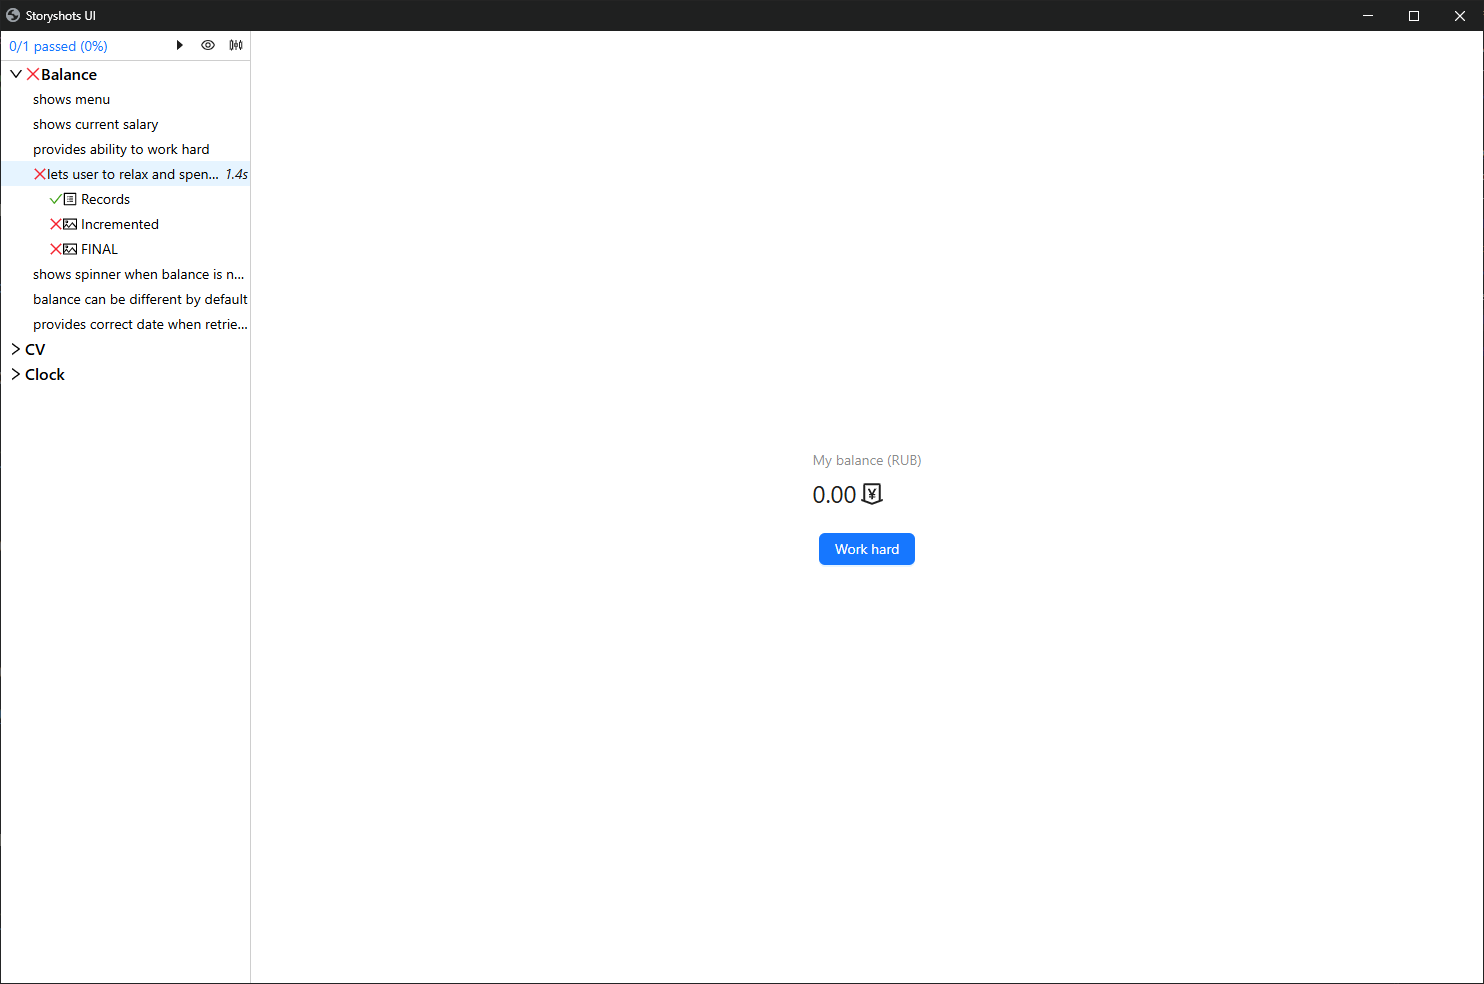
Snapshot Changes
Consider a story with an intermediate snapshot:

Change the text on the page:
Account Balance (RUB)
My balance (RUB)
After restarting:
Each snapshot contains the difference. Example:
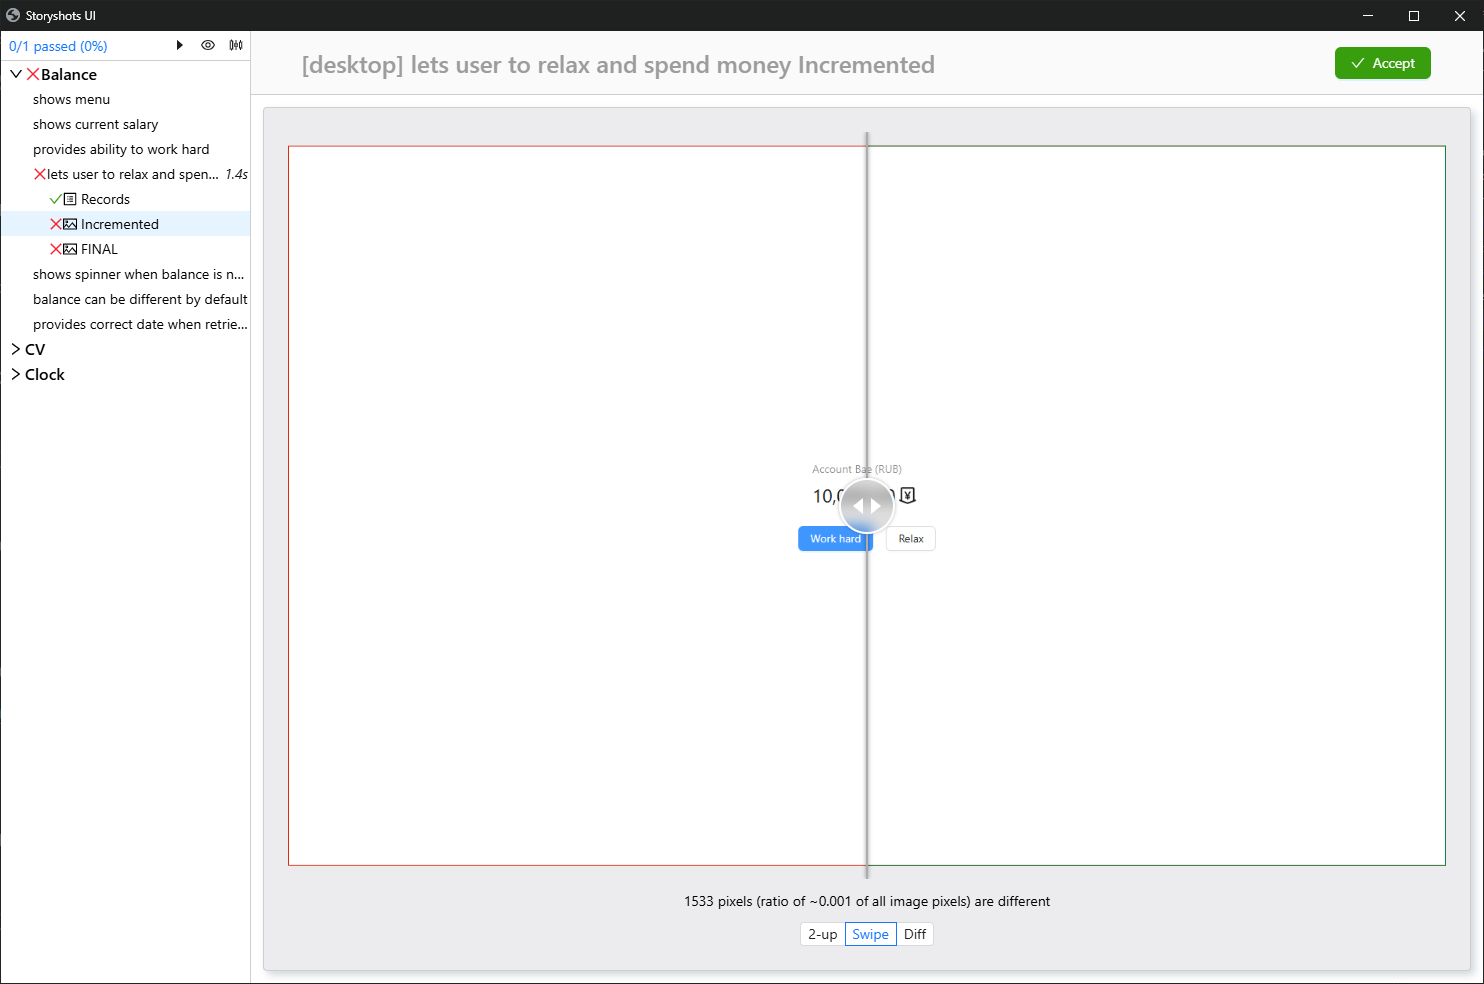
Left — reference snapshot (red outline), right — current snapshot (green outline).
The text below indicates the number of pixels that differ. This can be useful for fine-tuning the comparison algorithm.
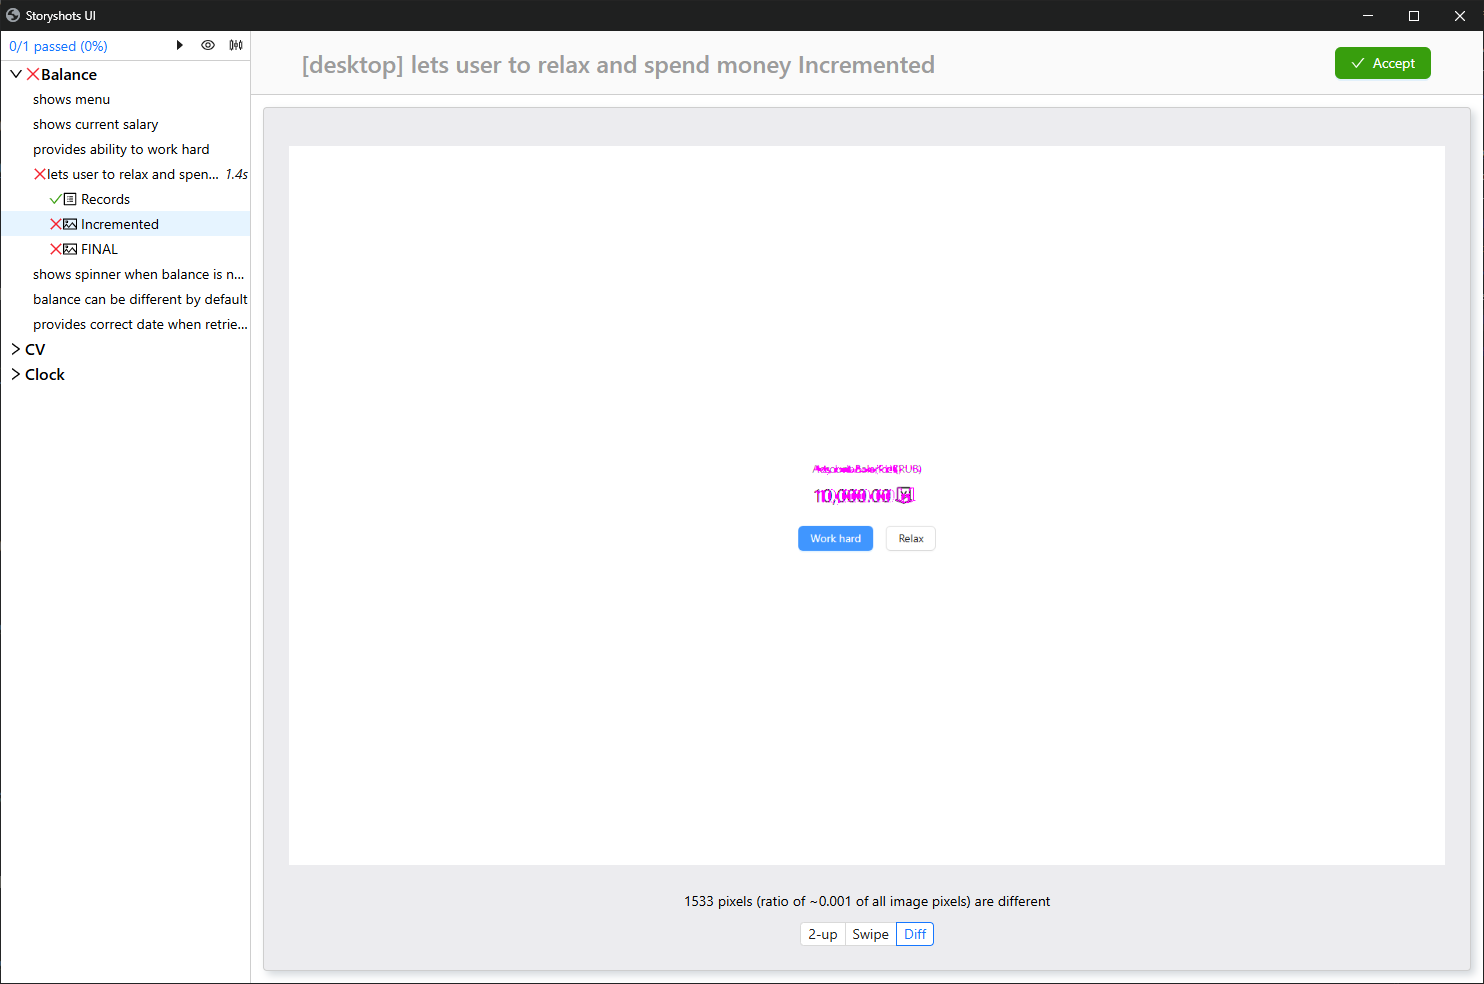
For a more explicit highlighting of differences, the change map is also available:
Errors
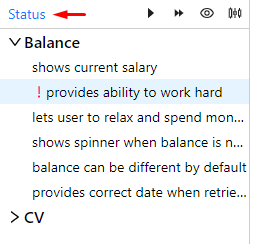
If a baseline cannot be generated, for example due to a missing element, the story is marked with an exclamation point:

To learn more details, click on the status in the top-left corner:
The error details panel will open:
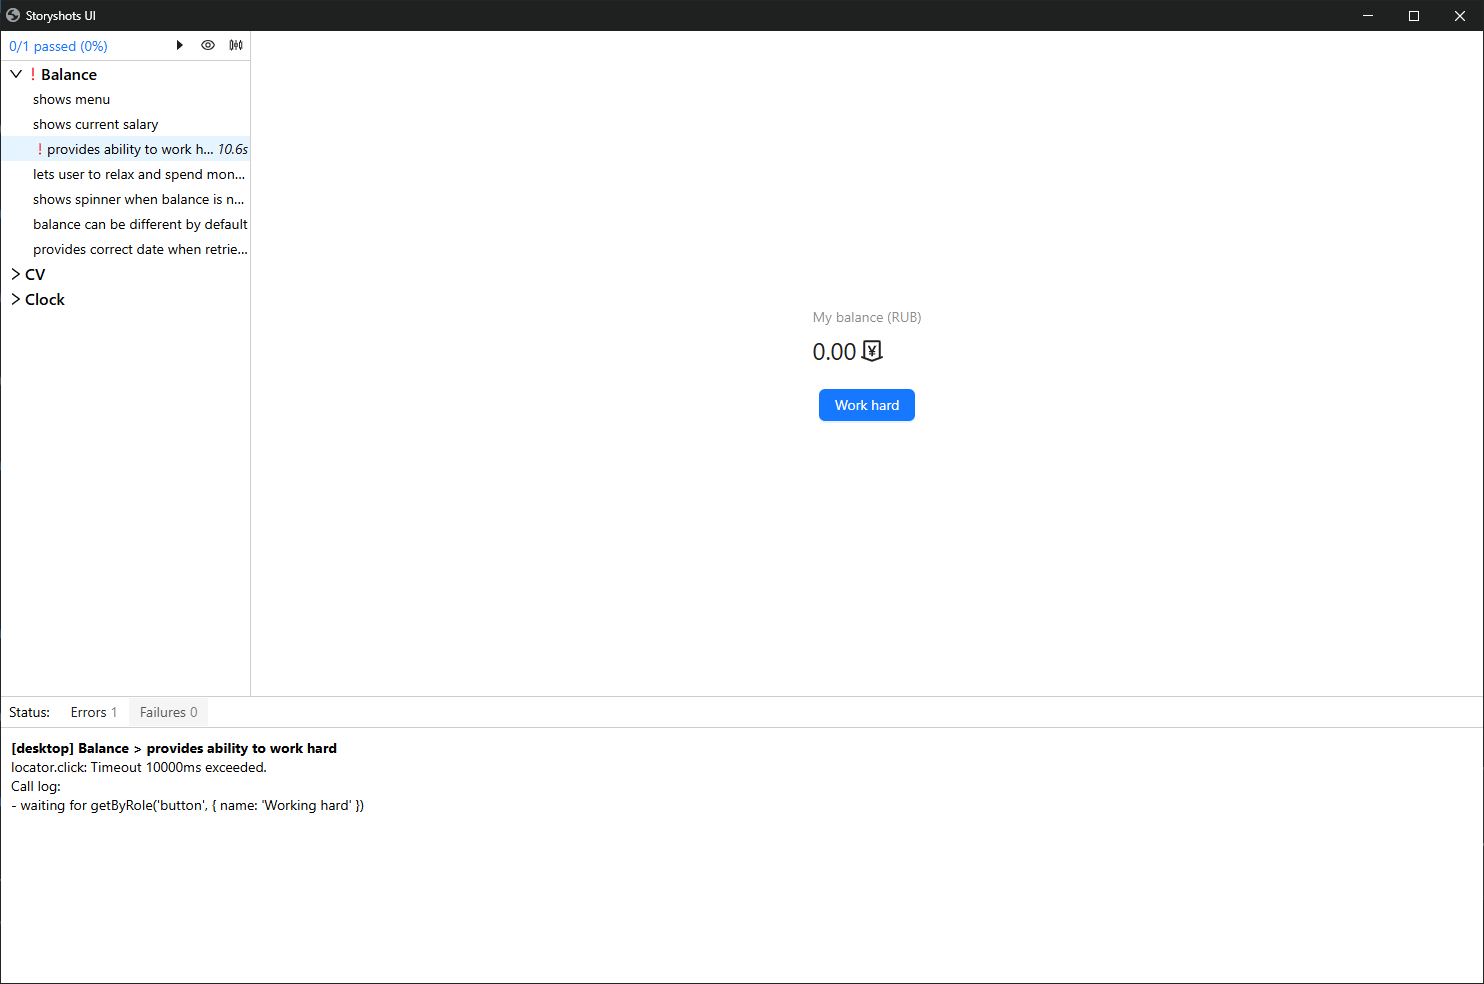
storyshots uses the playwright library to interact with the interface.
The "Failures" tab contains a list of stories whose baselines differ from the reference.
Locator
To simplify working with selectors, the "Locator" tool is used. It is located on the toolbar (eye icon):
When activated and hovering over an element, a recommended selector is displayed:
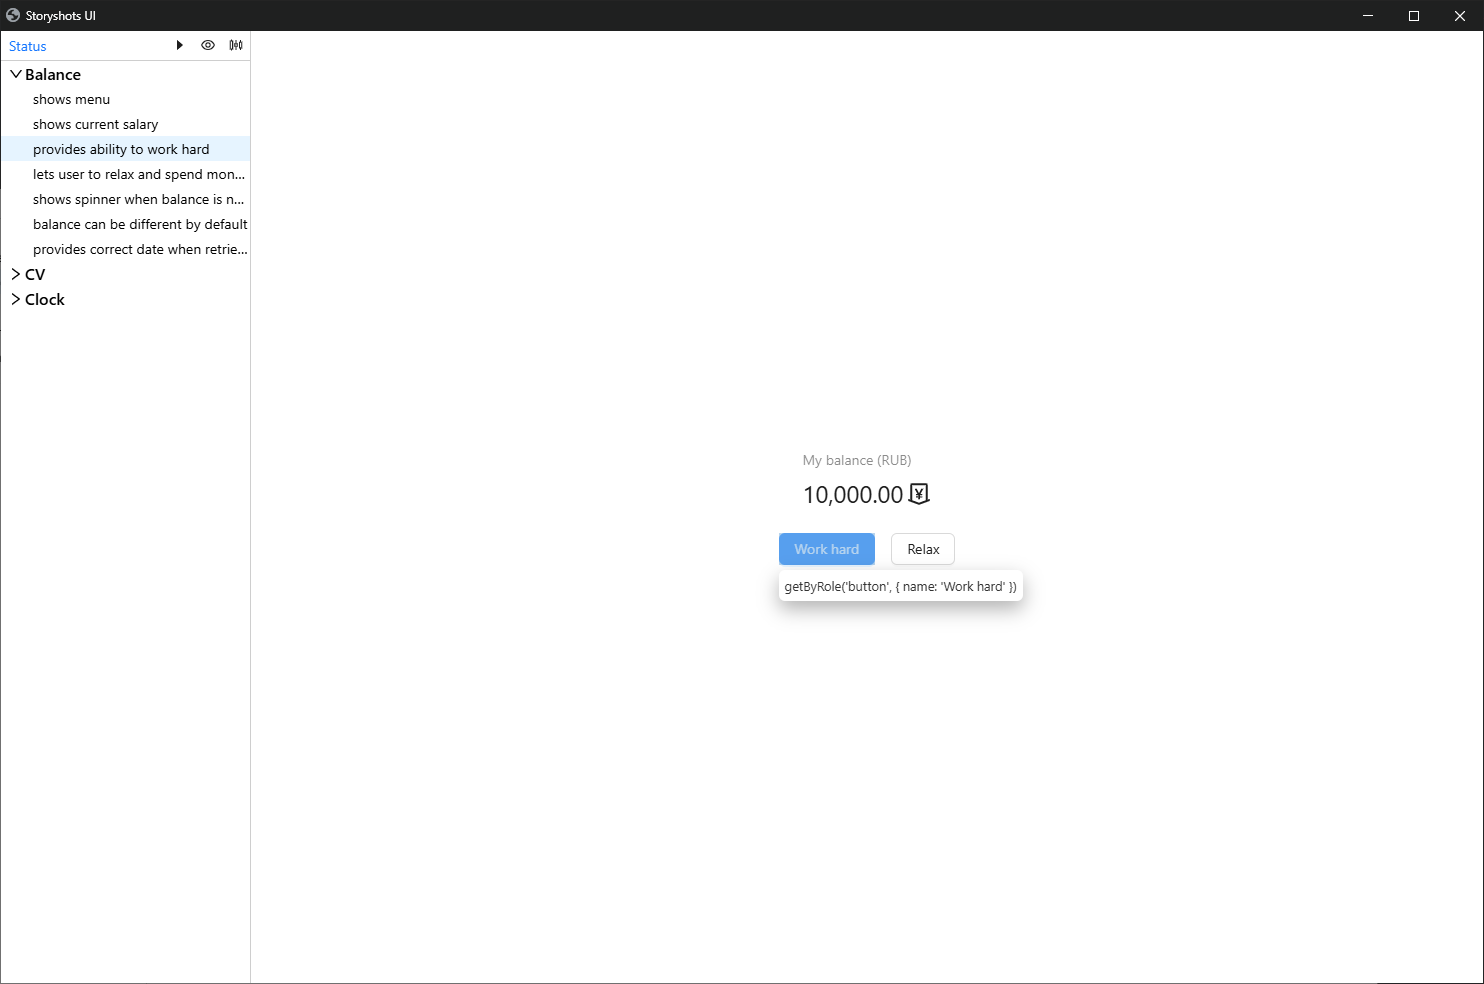
Clicking on an element in "Locator" mode copies its selector to the clipboard.
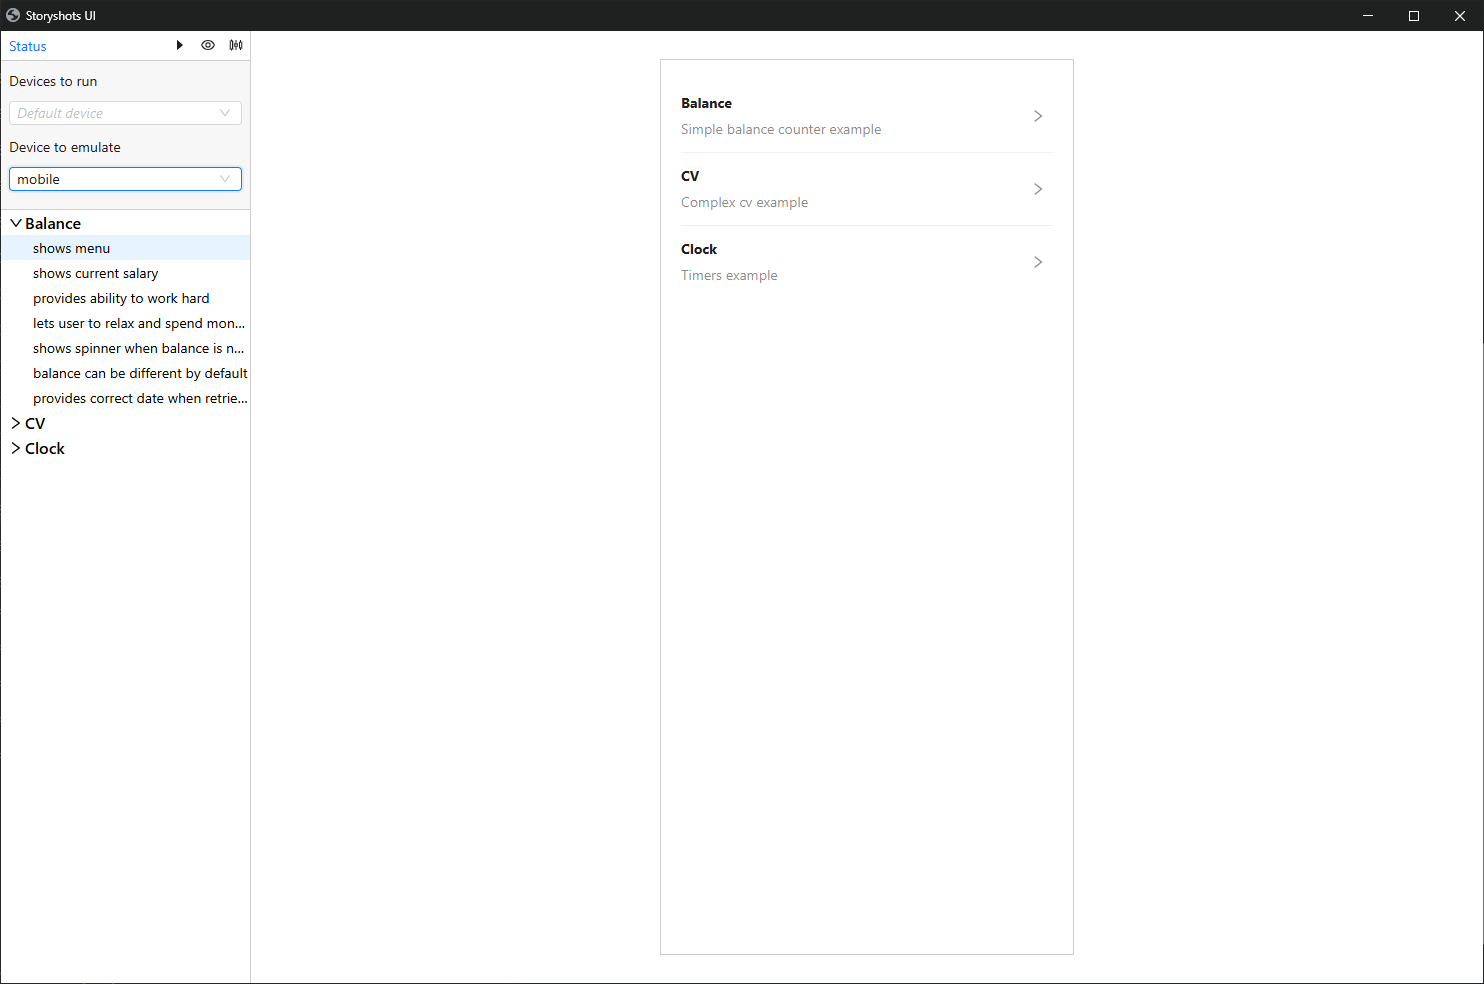
Device Selection
If storyshots is configured for multiple devices, you can select a device via the configuration panel:
The panel looks like this:
Select a device, for example, "mobile":
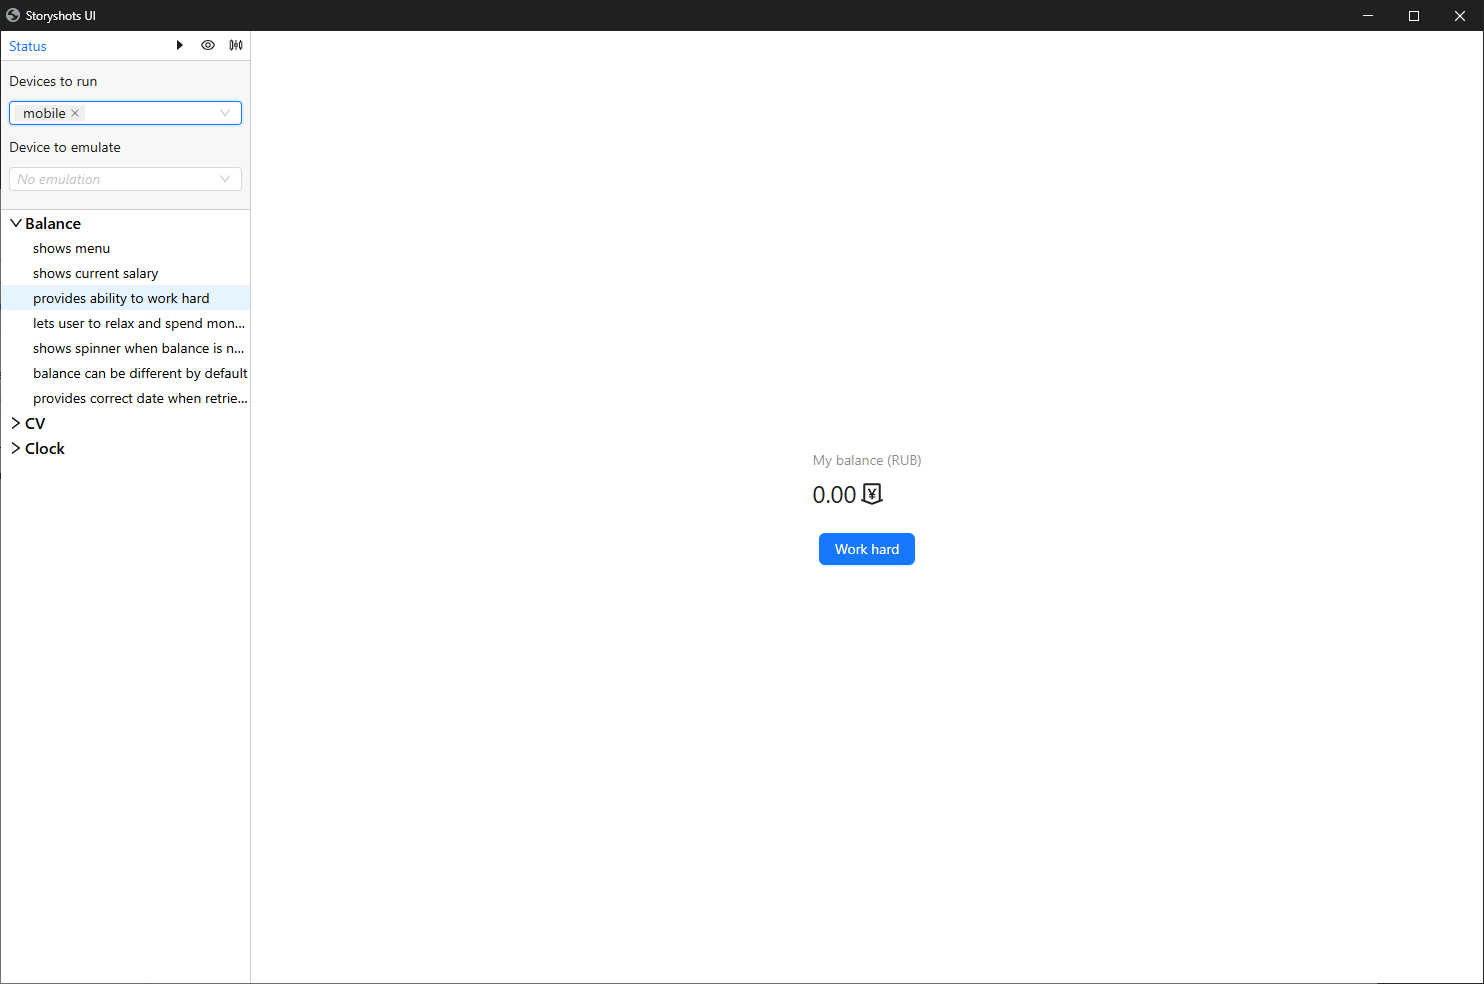
Now baselines will be generated for the selected device:
Full Run
Stories can be run simultaneously across multiple devices. To do this, select them in the configuration panel:
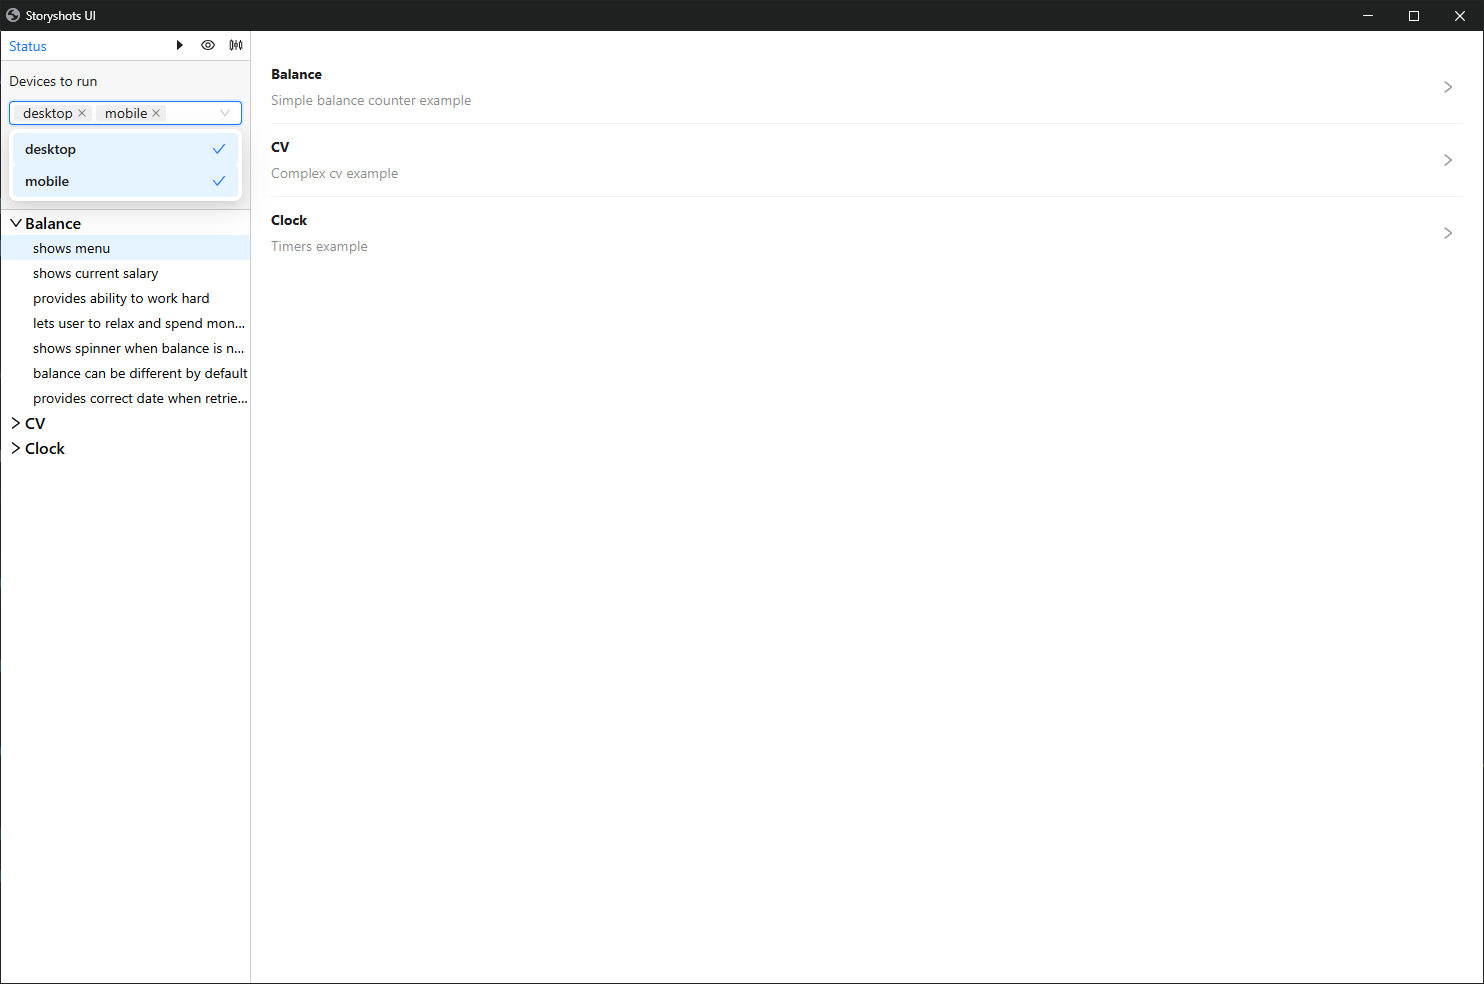
Result:
The more devices used, the faster the test execution time will grow on the project.
Emulation
By default, the preview mode displays the application according to the size of the working window:
To enable emulation, select the desired device in the "Device to emulate" option. Now the working area will automatically adjust to the viewport of the selected device:
storyshots does not fully emulate the device, but only sets the specified screen dimensions.